System planning
Underfloor Heating Under Tiles in Canberra: A Planning Guide
Under-tile heating works as a coordinated floor system. The room plan, finished levels, waterproofing, electrical test points and curing dates need agreement before the cable is covered.
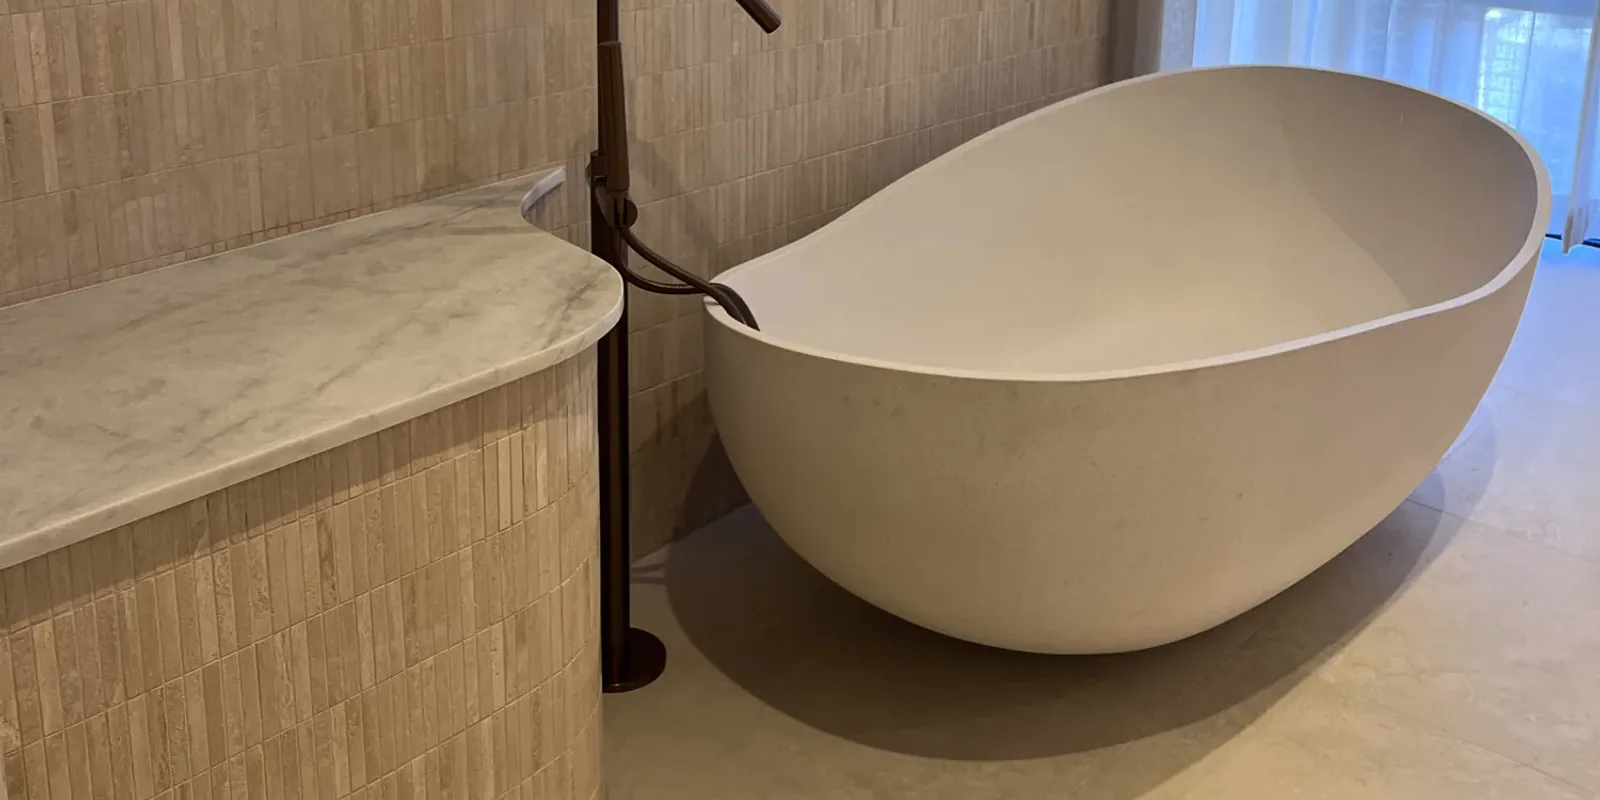
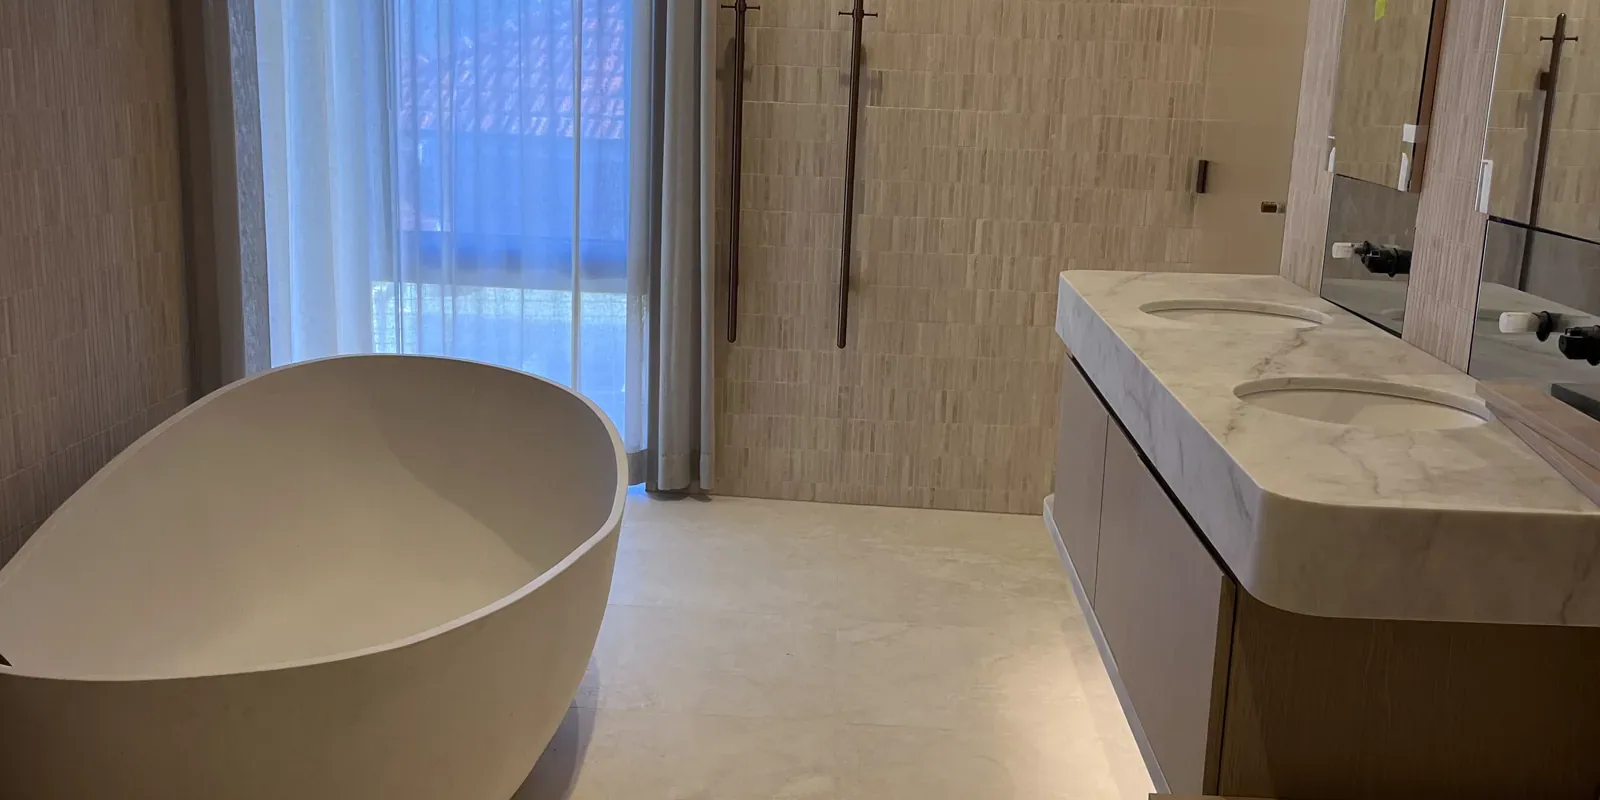
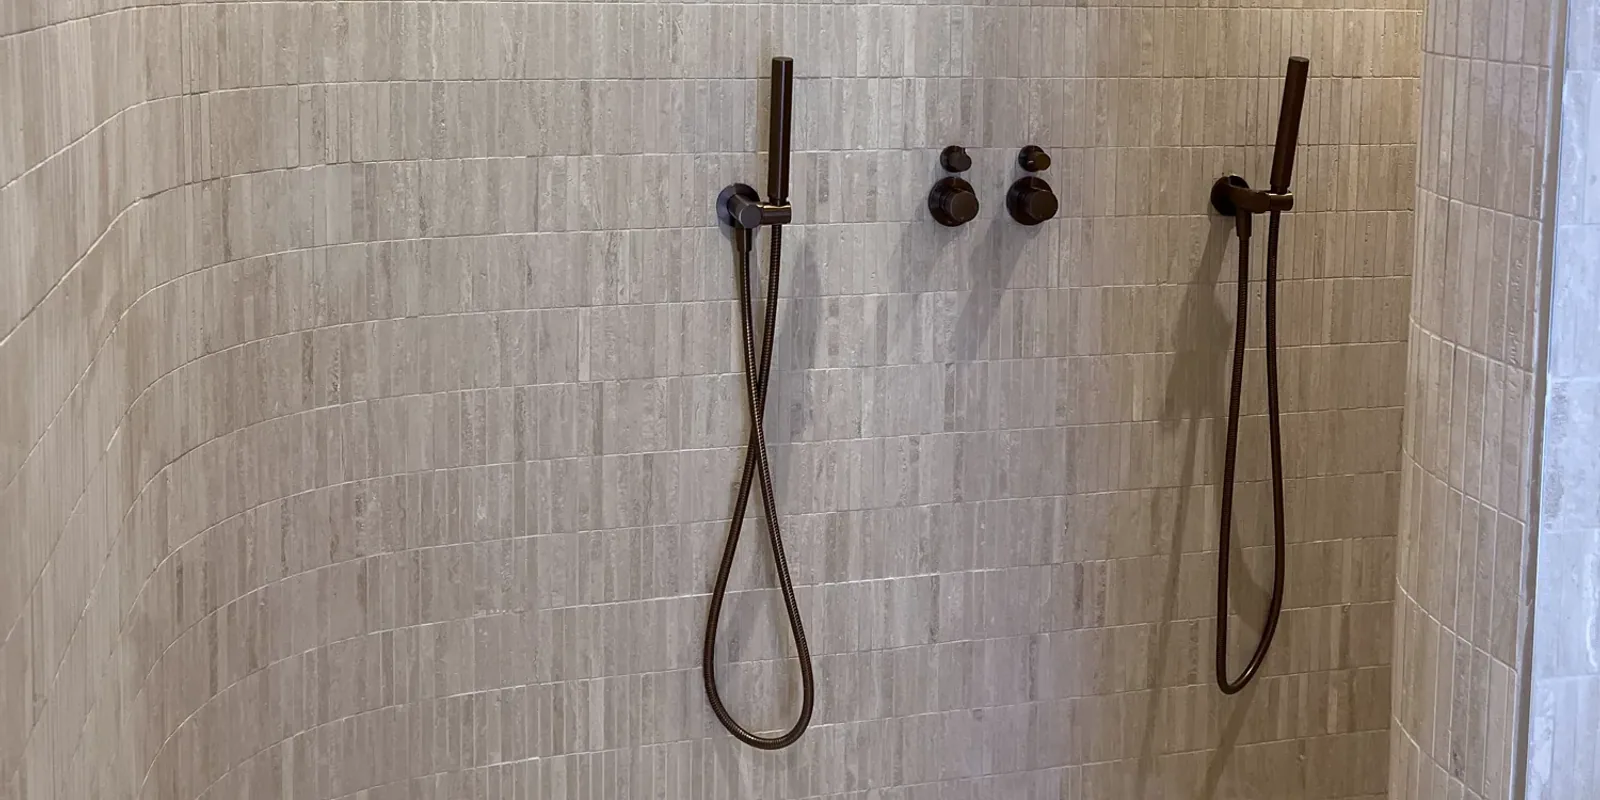
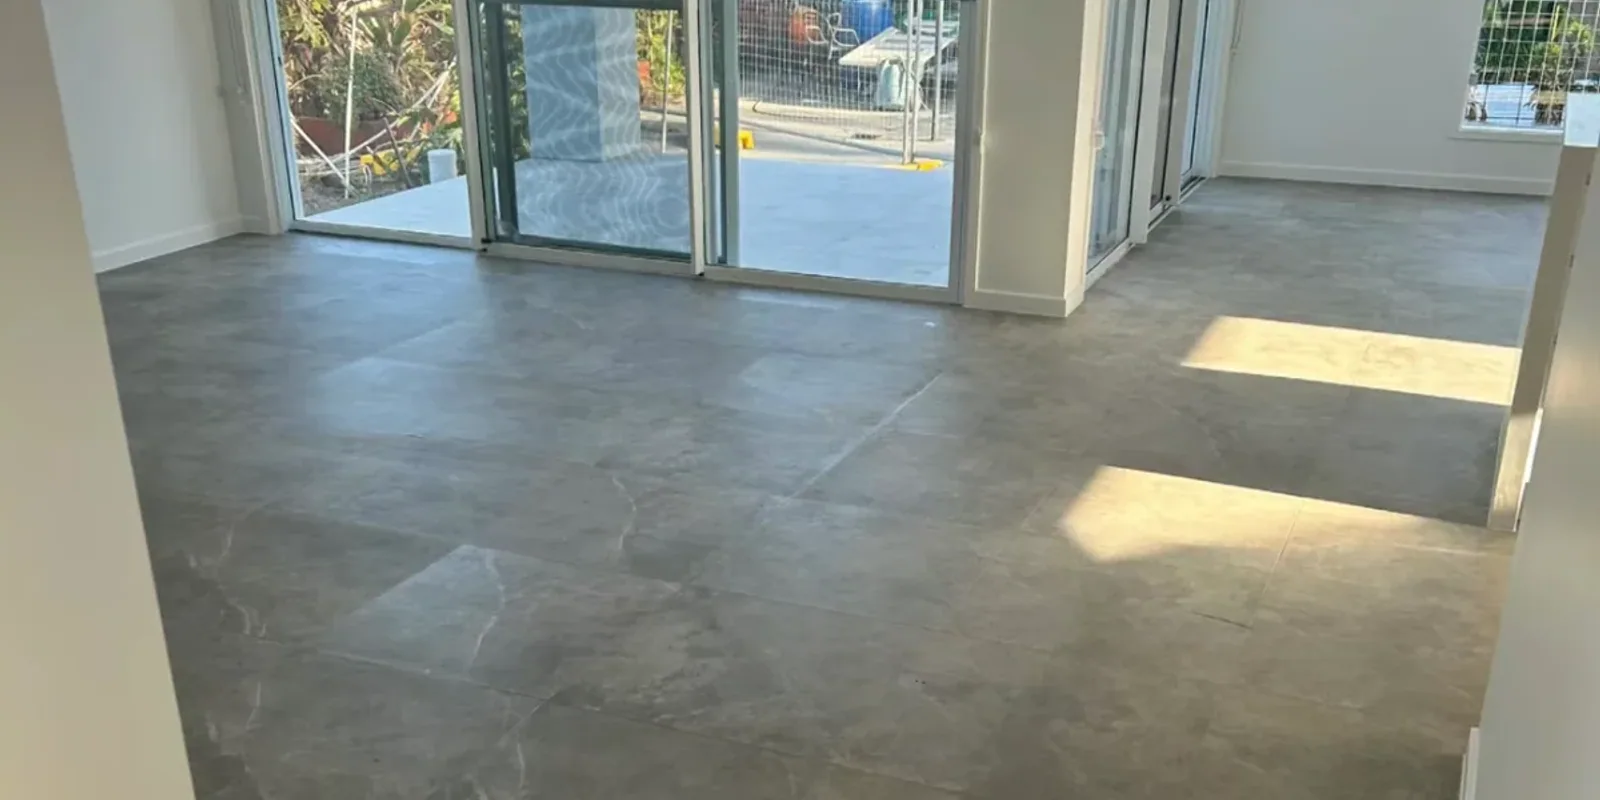
Electric underfloor heating can make a tiled bathroom more comfortable, but it is not a loose accessory that can be added after the tile layout is decided. It becomes part of a floor assembly involving the substrate, electrical design, waterproofing, levelling or screed products, adhesive, tile and movement accommodation.
This guide is a planning and handover worksheet for Canberra homeowners. It does not replace the design for a selected heating system, the waterproofing compliance pathway, the tile installation specification or the work of an ACT-licensed electrician.
Step 1: Draw the heatable area, not just the room area
Begin with a dimensioned floor plan showing every permanent floor-level object. Heating suppliers generally size cable or mat systems to the area that can actually be heated, not the room's gross square metres.
Mark:
- the vanity footprint and whether it is wall-hung or floor-standing;
- bath, shower screen channel, toilet and floor wastes;
- fixed cabinetry, ducts and other areas the chosen system excludes;
- door swing, threshold and transition to the adjoining floor;
- thermostat location, power supply and intended floor-sensor route;
- proposed tile direction, movement joints and changes of finish.
Confirm all exclusions against the exact product manual before ordering. A common cable cannot simply be shortened to solve an over-order: the reviewed Thermonet guidance says not to cut or shorten the heating cable. If the fixture layout changes after purchase, stop and ask the supplier and electrician to recheck the design rather than squeezing spare cable into a smaller area.
Step 2: Freeze the finished floor build-up
List every layer from the supporting structure to the tile surface, with the intended thickness of each layer. The answer affects door clearance, bath and vanity heights, shower entries, wastes, skirtings and the transition into the next room.
A planning schedule may need rows for:
- structural floor or existing slab;
- preparation, repair or approved underlay;
- insulation board where the selected design uses it;
- heating cable or mat;
- levelling compound, adhesive bed or screed specified for the system;
- waterproofing membrane and its junction details in a wet area;
- tile adhesive, tile and grout;
- flexible joints and transitions.
That list is not a universal installation order. Manufacturer details vary. Some systems show heating above a membrane; other assemblies place a membrane over a screed containing the heating. The project team must select one compatible, documented sequence for the actual substrate, heating product and wet-area design.
Before ordering, record the finished height at the doorway, the top of each waste, the shower fall strategy and any maximum thickness imposed by the heating, levelling, waterproofing or adhesive products. Do not use extra adhesive as an improvised solution for an unresolved level difference.
Step 3: Assign responsibility before work starts
Write a small responsibility table rather than assuming the tiler, bathroom renovator or heating supplier is covering every regulated task.
| Decision or record | Named responsible party |
|---|---|
| Heating design and product selection | Supplier / system designer |
| Circuit capacity, controls and regulated electrical work | ACT-licensed electrician |
| Substrate and finished-level assessment | Builder / tiler / relevant designer |
| Wet-area compliance pathway and membrane details | Relevant designer, builder or certifier |
| Product compatibility confirmation | Product manufacturers and responsible installers |
| Cable protection during floor work | Every trade entering the area |
| Tile set-out and movement-joint implementation | Tiler under the project specification |
| Commissioning records and electrical certificate | Licensed electrician |
ACT Planning directs owners to use a licensed electrician for wiring and electrical equipment. Have that electrician confirm the circuit, controller, sensor, mandatory tests and certification requirements before the floor closes. This avoids discovering after tiling that a control location, circuit or sensor path is unsuitable.
Step 4: Lock the system sequence in writing
Collect the current technical documents for the exact heating model, substrate preparation product, leveller or screed, membrane, adhesive, grout and tile. Product names alone are not enough; keep revision dates and batch details where available.
Ask each responsible installer to confirm:
- the substrate condition and preparation required before the heating is placed;
- whether insulation is required, permitted or excluded;
- where the membrane sits in this particular assembly;
- whether the leveller, screed and adhesive are approved for heated floors;
- minimum and maximum cover over the cable or mat;
- how falls to wastes are preserved without exposing or crowding the cable;
- where perimeter and intermediate movement joints continue through the tiled finish;
- which primer, curing and moisture conditions apply between stages.
The ABCB notes that a project cannot mix selected parts of different waterproofing compliance pathways. The same discipline is useful for the full floor: do not assemble a hybrid from unrelated diagrams and assume the products are compatible.
Step 5: Establish three electrical hold points
The Thermonet installation guide requires the system to be tested before laying, after the cable is installed and after the floor finish is completed. Treat these as hold points, not paperwork to reconstruct later.
For each test, the licensed electrician should record the measurements required by the selected system and identify the room, product, model or serial details and test date. Keep the readings together so an unexpected change is visible before the next layer hides the cause.
Use this sequence:
- Test A, before installation: confirm the delivered system and establish its starting readings.
- Test B, after placement: record the installed readings and photograph the complete cable or mat layout before covering.
- Test C, after tiling: confirm the post-finish readings before commissioning and handover.
Photos should show the whole floor, fixed exclusions, sensor route, cold-tail route, wastes and dimensions from permanent walls. A close-up of one cable loop is not a useful future drilling plan.
If a reading is outside the manufacturer's permitted result, stop. Do not cover the system while a discrepancy is unresolved. The electrician and supplier should determine the next step under the selected product's procedure.
Step 6: Protect the heating during tiling
Once installed, the cable is vulnerable to dropped tools, sharp edges, concentrated traffic and uncontrolled cutting or drilling. Put the room under a simple access rule until the system is covered.
- Keep unnecessary trades and stored materials off the floor.
- Use only the protection method permitted by the system and covering-product manufacturers.
- Mark no-drill areas and brief anyone installing screens, vanities, door stops or trims.
- Do not move, cross, shorten or bunch cable to improve the tile set-out.
- Keep floor wastes, falls, perimeter details and movement joints visible in the work plan.
- Photograph the system again if a repair or approved layout change occurs before covering.
The reviewed heating guide calls for a full bed of tile adhesive rather than spot fixing. The tiler also needs to follow the selected tile-installation specification, including suitable adhesive coverage and movement accommodation. Heating does not remove normal substrate, lippage, joint or wet-area responsibilities.
Use the tile layout, grout and movement-joint guide to resolve set-out before cable placement, and the bathroom floor tile guide to coordinate falls, drainage and finish selection.
Step 7: Set a written commissioning date
Do not switch the heating on to accelerate the curing of screed, leveller, waterproofing, adhesive or grout. Early heating can impose moisture and thermal stress before the floor system is ready.
There is no safe universal waiting period to publish for every assembly. The reviewed heating guide gives its own timing, while the leveller, screed, membrane, adhesive and grout manufacturers may specify different conditions. Before handover:
- collect the curing and commissioning requirements for every relevant product;
- identify the latest or most restrictive permitted switch-on date;
- write that date on the controller or handover sheet;
- follow any staged temperature increase required by the system or floor-product manufacturers.
If site temperature, humidity or substrate moisture prevents a product meeting its stated conditions, the calendar date alone is not proof that the floor is ready.
Step 8: Keep a useful handover pack
The final owner file should include:
- final heatable-area drawing and cable-layout photographs;
- heating product, model, order and warranty information;
- Test A, B and C records;
- thermostat and floor-sensor details and operating instructions;
- electrical circuit identification and applicable Certificate of Electrical Safety;
- final floor build-up and waterproofing records;
- leveller, screed, adhesive, grout and membrane product details;
- written earliest commissioning date and start-up instructions;
- tile shade, calibre and batch labels plus repair spares;
- marked no-drill areas and locations of concealed services.
These records let a future electrician diagnose the system without guessing and help prevent a later screen, vanity or door-stop fixing from entering a heating cable.
A quote-ready planning checklist
Send the same information to the heating supplier, electrician and tiling contractor:
- dimensioned room and heatable-area plans;
- selected heating product and current installation guide;
- tile size, finish, layout and grout-joint plan;
- substrate type and known flatness, moisture or repair issues;
- proposed floor build-up, finished levels, falls and waste details;
- waterproofing sequence and responsible party;
- thermostat, sensor, circuit and cold-tail locations;
- required test, photo, certificate and warranty handover records;
- fixture exclusions and later fixing locations;
- commissioning constraints from every floor-system product.
For a site-based review of the tile build-up and set-out, use LITA Tiling's Canberra floor and wall tiling service. Electrical design, connection, testing and certification remain with the appropriately licensed electrician.
Sources and further reading
- Find a professional - ACT Government - Planning
- Thermonet underfloor heating installation guide - Thermogroup Australia
- 2026 product guide - Thermogroup Australia
- AS 3958:2023 - Installation of ceramic and stone tiles - Standards Australia
- Waterproofing in houses - Australian Building Codes Board