Tile planning
Tile Layout, Grout & Movement Joints: A Homeowner Check
A good set-out explains not only where the first tile starts, but how joints, cuts and transitions behave across the whole room.
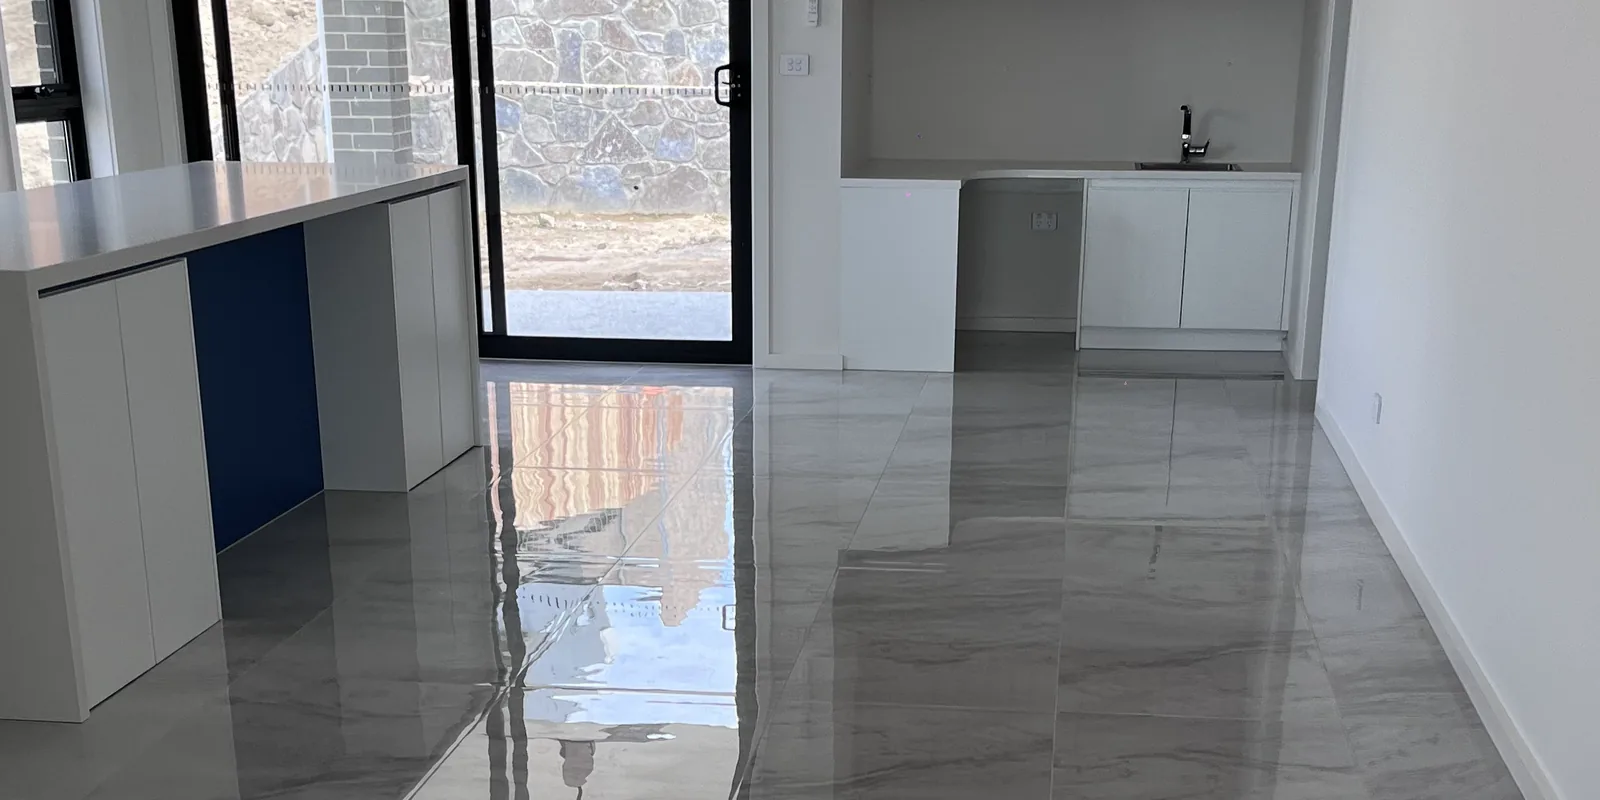
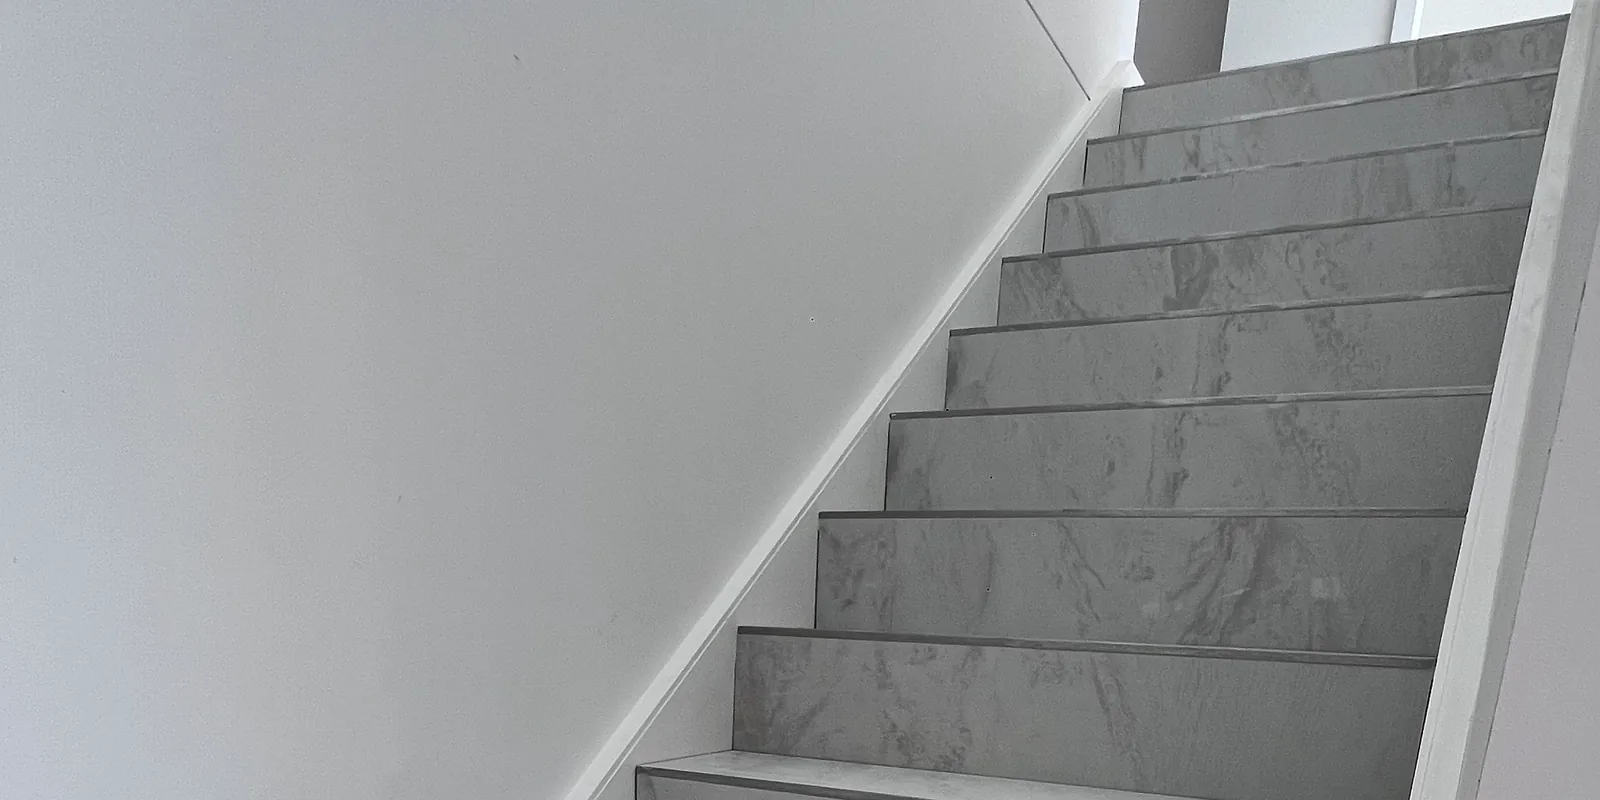
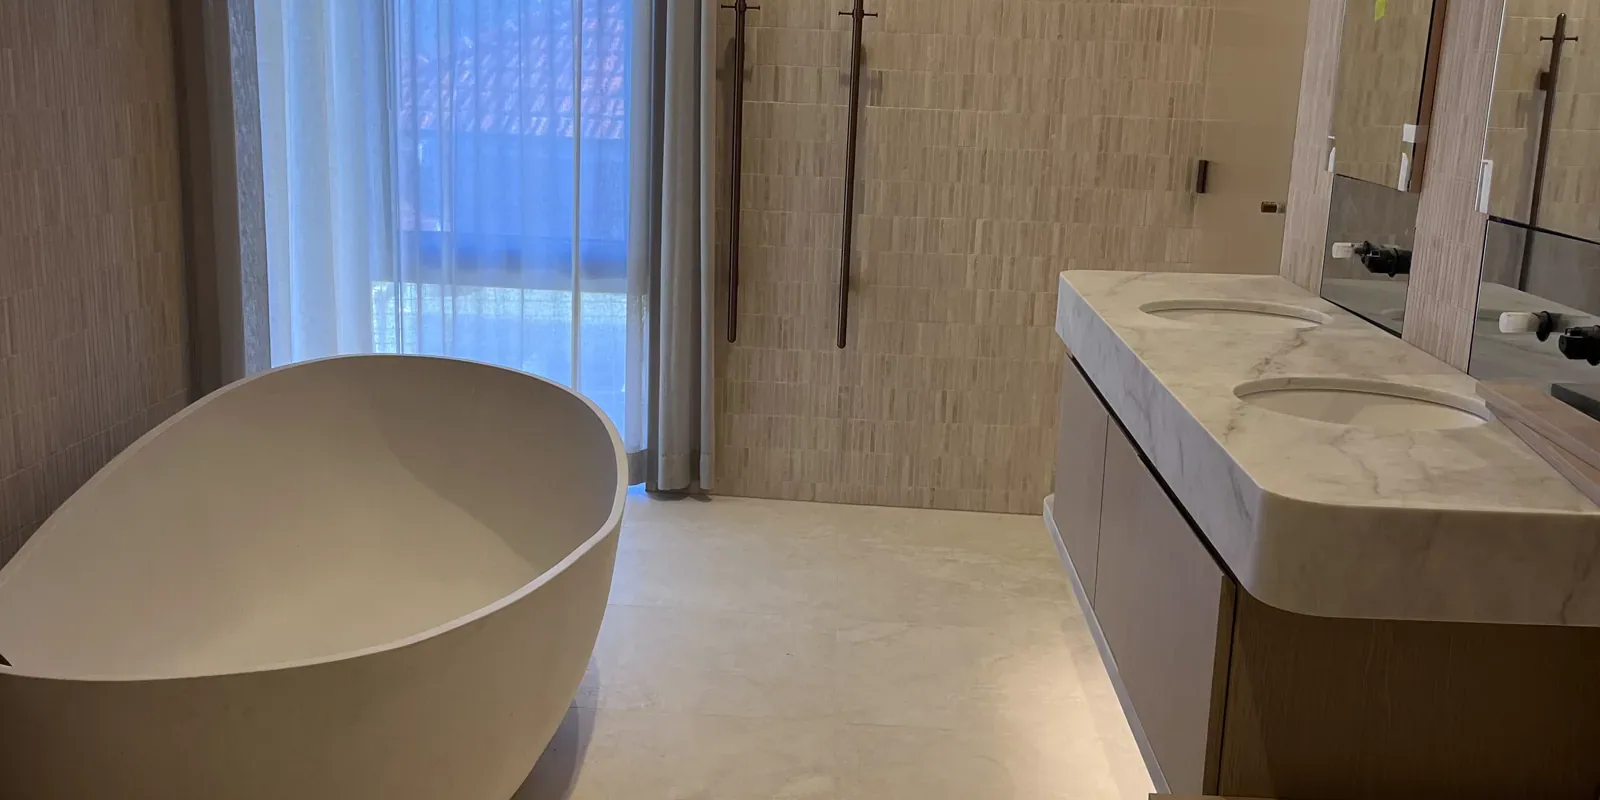
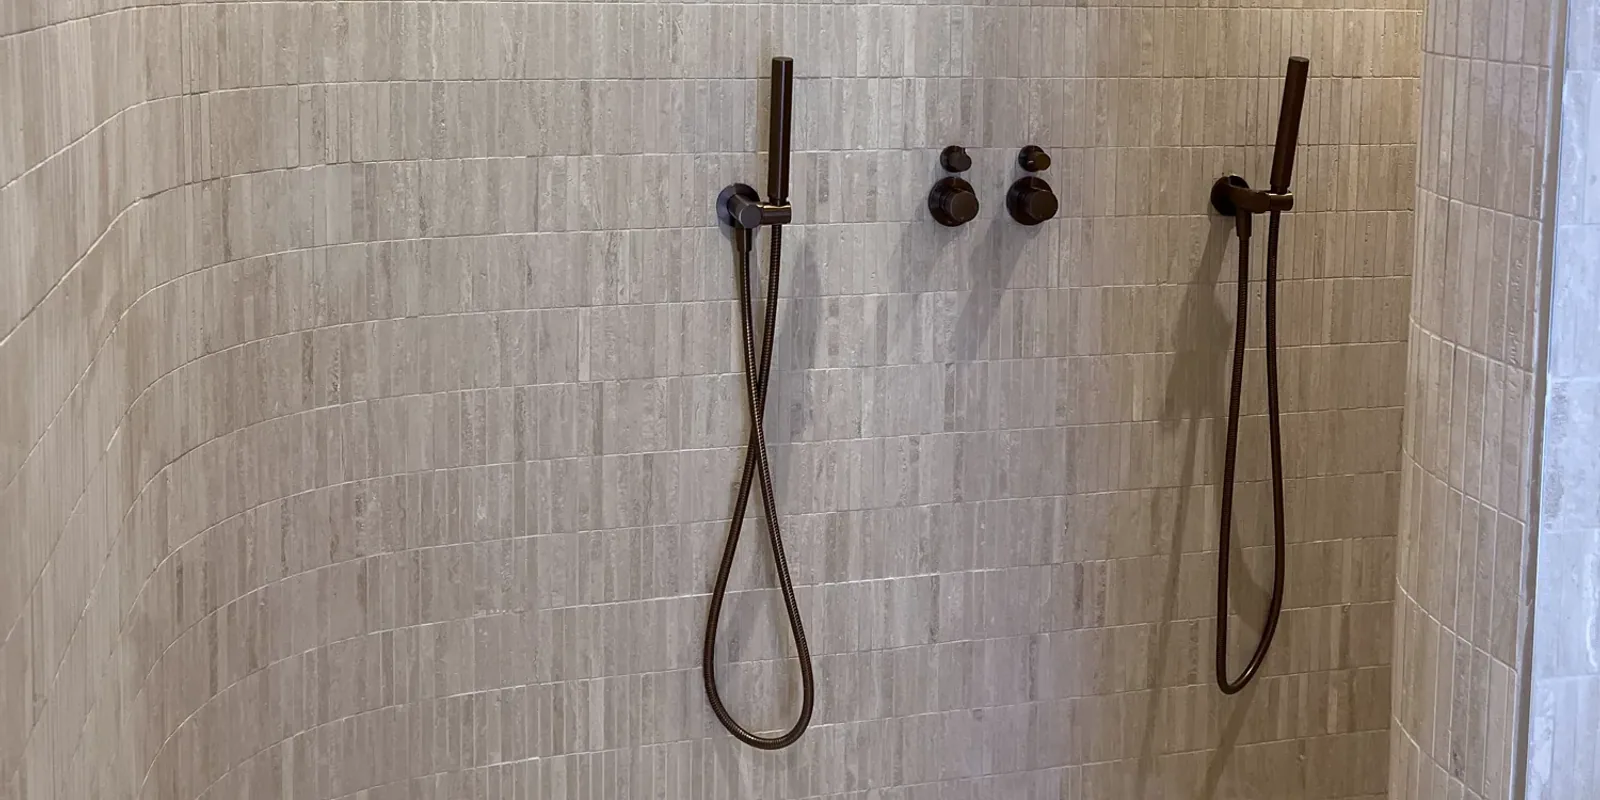
Tile set-out is the plan for how pieces, joints and cuts occupy the finished surface. It is not just a centre line drawn on an empty room. Doorways, walls, cabinetry, drains and adjoining finishes all influence which lines matter most.
Homeowners do not need to design the installation method, but they can confirm the visual priorities and provide the product information needed for a project-specific plan.
Identify the strongest sightlines
Stand at the normal entries and look through the space. The most important line may run through a hallway, beside a long kitchen island or toward a feature wall rather than through the geometric centre of one room.
Discuss which elements should look aligned:
- tile joints through connected rooms;
- doorways and corridor lines;
- cabinetry, bath fronts or feature walls;
- floor and wall joints where both surfaces are tiled;
- borders, transitions and exposed tile edges.
Not every feature can be centred at once. Agreeing on the hierarchy makes any compromise intentional.
Calculate with real tiles and joints
Tile cartons usually state a nominal size. Actual pieces, permitted variation and the selected joint width determine the installed module.
Measure a representative group rather than assuming every piece exactly matches the label. For patterned layouts, include the repeat. Then review both sides of the surface so that improving one edge does not create an unusable sliver at the other.
Large-format tile also makes substrate variation more visible. A drawing cannot resolve flatness, levels or transitions that have not been assessed on site.
Grout width is part of the system
Grout joints accommodate the practical tile module and form a major part of the finished appearance. The appropriate width depends on factors such as tile type, dimensional variation, substrate and installation requirements, not only a preference for the narrowest possible line.
Select grout after viewing it beside the real tile. A close colour can reduce the visual grid; a contrasting colour emphasises every line and any variation. Samples and screen images can look different under the room's lighting.
Flexible and movement joints have another job
Rigid grout is not the correct answer at every junction. Perimeters, changes of plane, transitions and movement-joint locations need to be identified under the selected installation approach.
AS 3958:2023 covers the installation of ceramic and stone tiles, including substrate, bonded fixing and grouting considerations. The final joint layout is project-specific. Existing building joints and anticipated movement cannot simply be hidden beneath a continuous rigid tile finish.
Ask the installer where flexible or movement joints are expected before the work starts, especially across large areas or connected rooms. Their colour and position can then be considered as part of the visual plan.
Plan thresholds and adjoining finishes
A tiled room rarely ends in isolation. At doorways, check the adjoining floor type, completed height, door clearance and intended transition detail.
The set-out should also show whether a joint, trim or cut will sit under the closed door or remain visible from the next room. If cabinetry or skirting will cover an edge, confirm the construction sequence rather than assuming it will hide every cut.
Review dry set-out before fixing
For an important room, mark reference lines or dry-place a representative run before adhesive is applied. Review the most visible cuts, pattern direction and transitions using the actual batch of tile.
This is also the time to identify chipped pieces, unexpected shade variation or a batch that differs from the sample. Once installation has progressed, changing the visual rule wastes material and can leave an inconsistent result.
Keep product and batch information
Retain the tile name, calibre or batch information supplied on the cartons, plus a small quantity of spare matching tile if practical. Record the grout, sealant and trim products used.
That information makes later maintenance or a local repair more informed, although a future batch may still vary.
For a Canberra project, send plans, room photos and tile details with a floor and wall tiling enquiry. If the substrate or room dimensions are not yet known, the initial set-out should remain provisional until they can be checked.
Sources and further reading
- AS 3958:2023 - Installation of ceramic and stone tiles - Standards Australia
- Products for ceramics and stone material - MAPEI Australia