Bathroom planning
Bathroom Floor Tiles: Slip Resistance, Falls & Drainage
A bathroom floor tile must work with the room geometry and drainage plan; colour and format are only part of the decision.
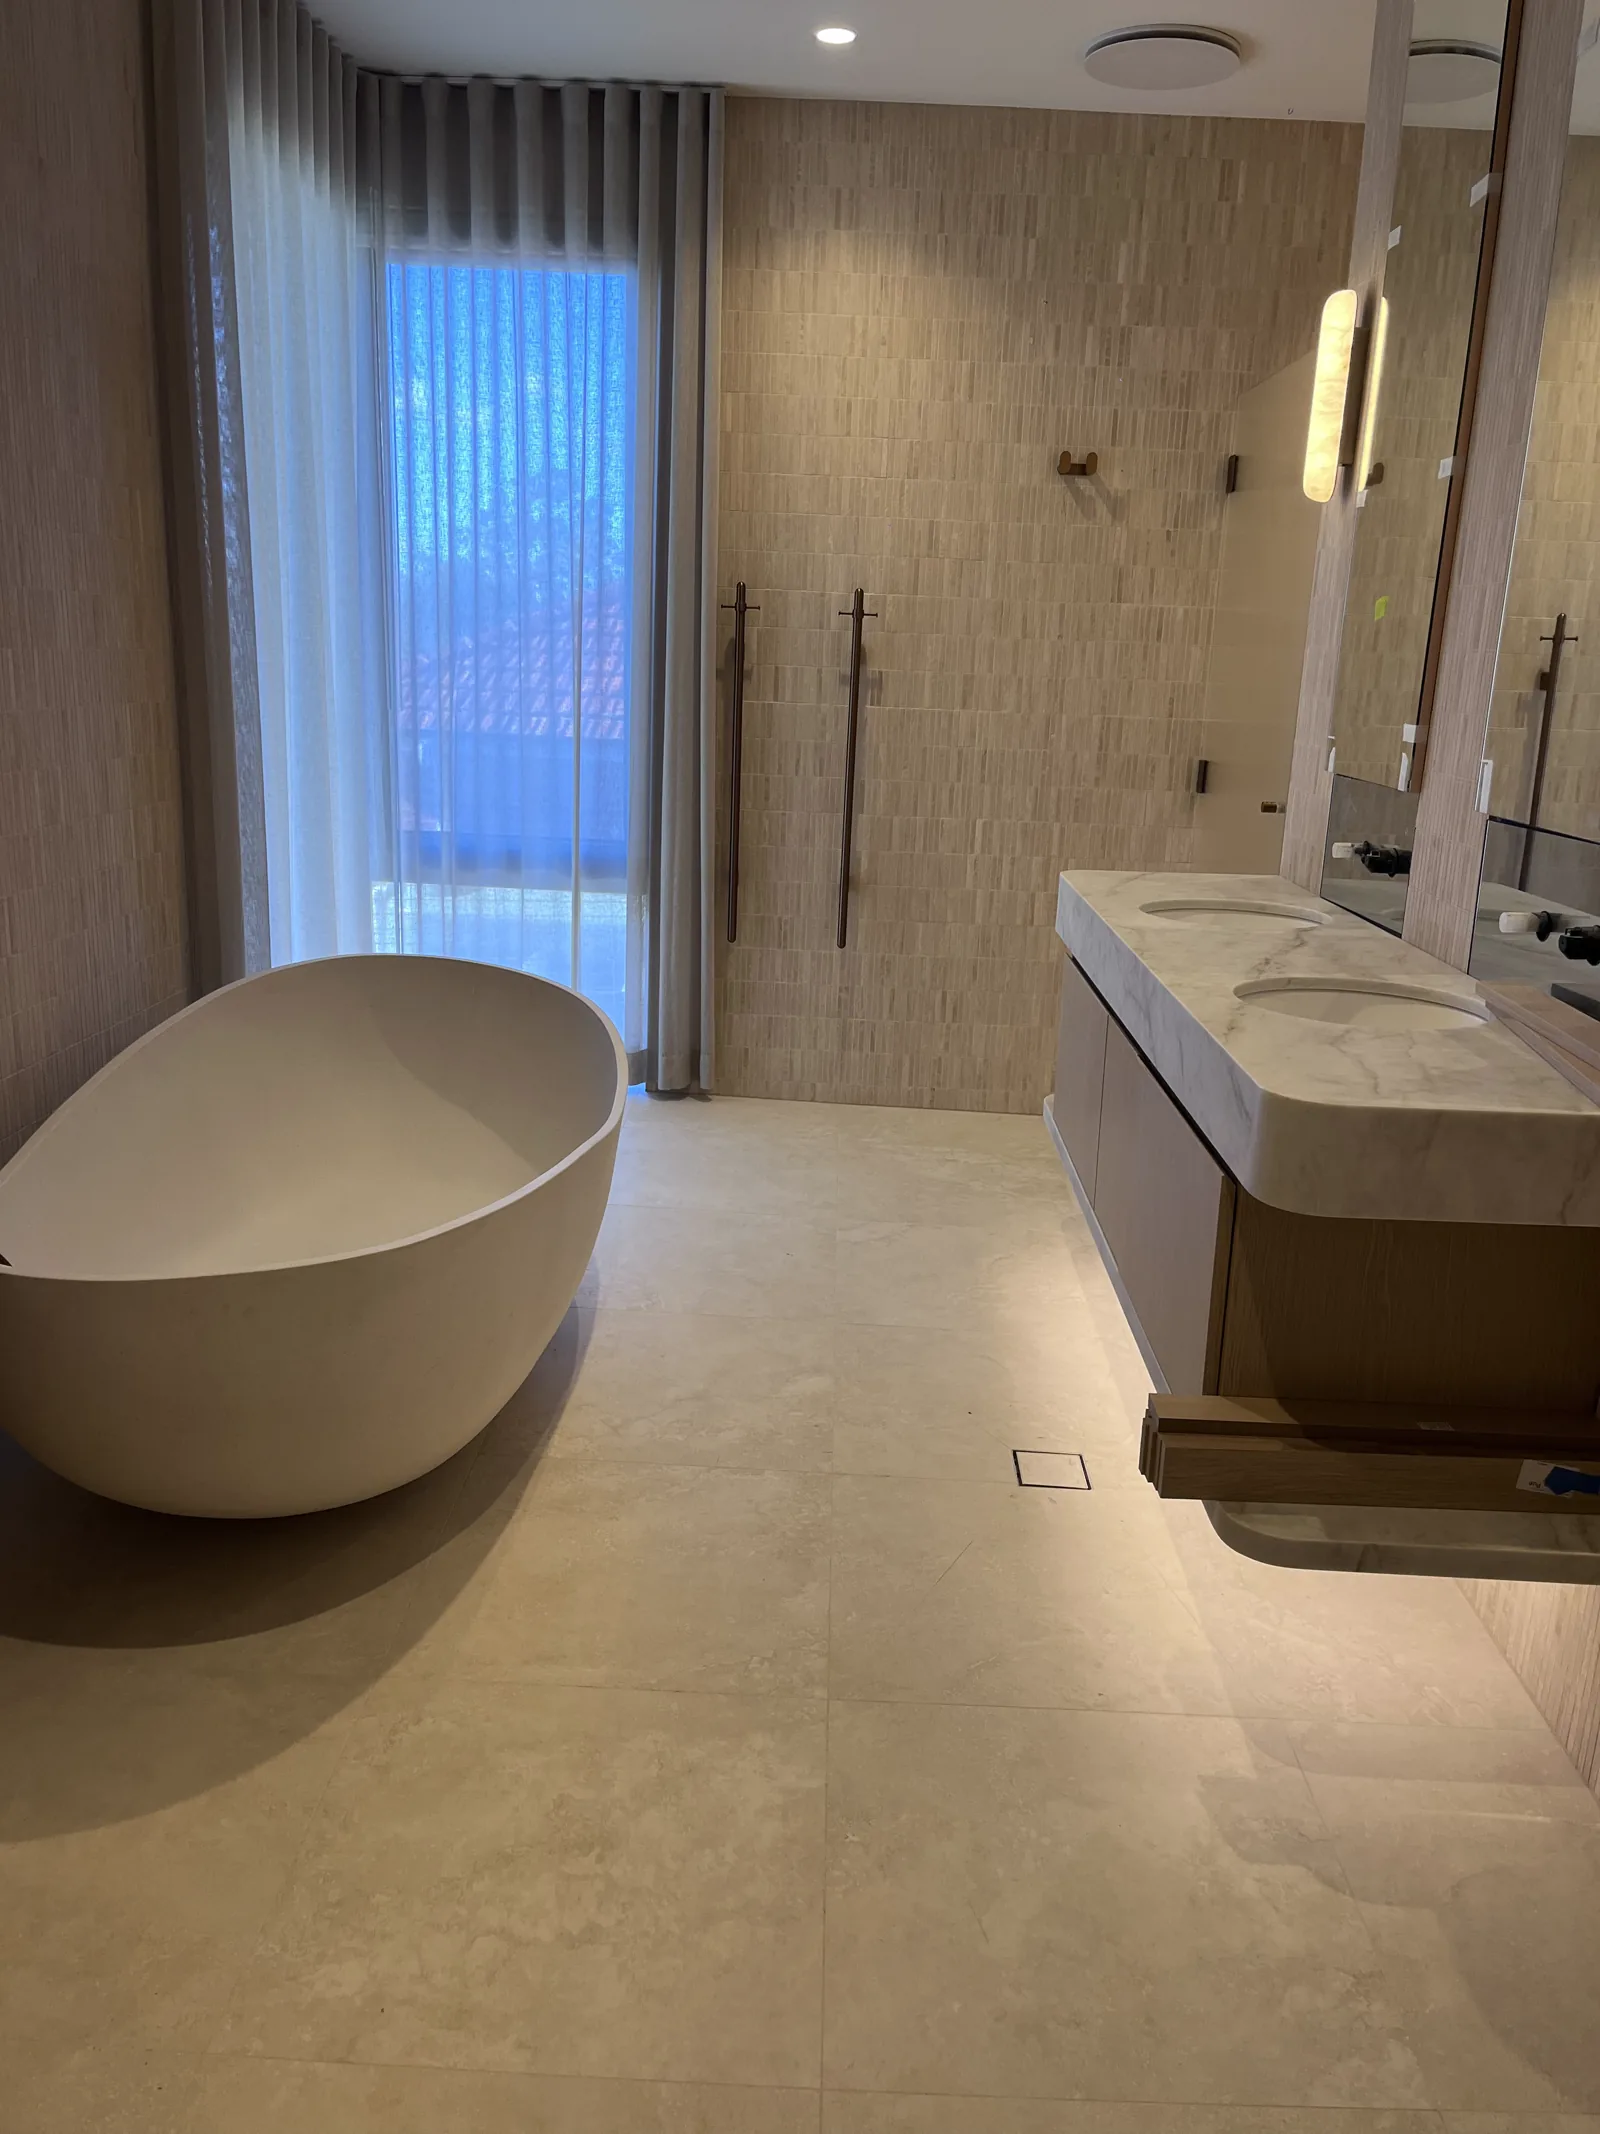
Bathroom floor tiles are often chosen from a sample board under showroom lighting. At home, the same product must work with bare feet, water, cleaning products, a floor waste, grout joints and the shape of the room.
The best choice is not simply the roughest tile or the largest format. It is a tile whose documented use and finish can be coordinated with the floor design and the people using the bathroom.
Slip resistance is application-specific
Terms such as “non-slip” are too general to be a complete product specification. Australian slip-resistance information uses test methods and classifications, and the relevant expectation depends on the surface and how it is likely to be used.
For a homeowner, the practical steps are:
- ask the supplier for the declared slip information for the exact tile and finish;
- confirm whether the product is promoted for the intended wet-floor application;
- consider who uses the bathroom and whether mobility needs change the risk;
- compare grip with cleaning and maintenance requirements;
- do not assume that a matt appearance proves a particular test result.
The NCC slip-resistance provisions cited in the source list specifically address applications such as stairs and ramps. A bathroom still needs a suitable floor finish, but homeowners should avoid copying a classification from a different application without project advice.
Falls are part of the floor, not a grout-line correction
When a floor waste is installed, the floor needs geometry that directs water towards it in accordance with the applicable design. Grout cannot be used to disguise an incorrect plane, and the tile layer cannot always correct an unsuitable base.
Before tile selection is final, identify:
- the number and type of wastes;
- whether the shower is enclosed or open;
- the location of thresholds and waterstops;
- the proposed floor levels outside the bathroom;
- whether the floor uses one plane or several directional falls.
These decisions affect screeding, waterproofing and tile set-out.
Large tiles and complex falls can conflict
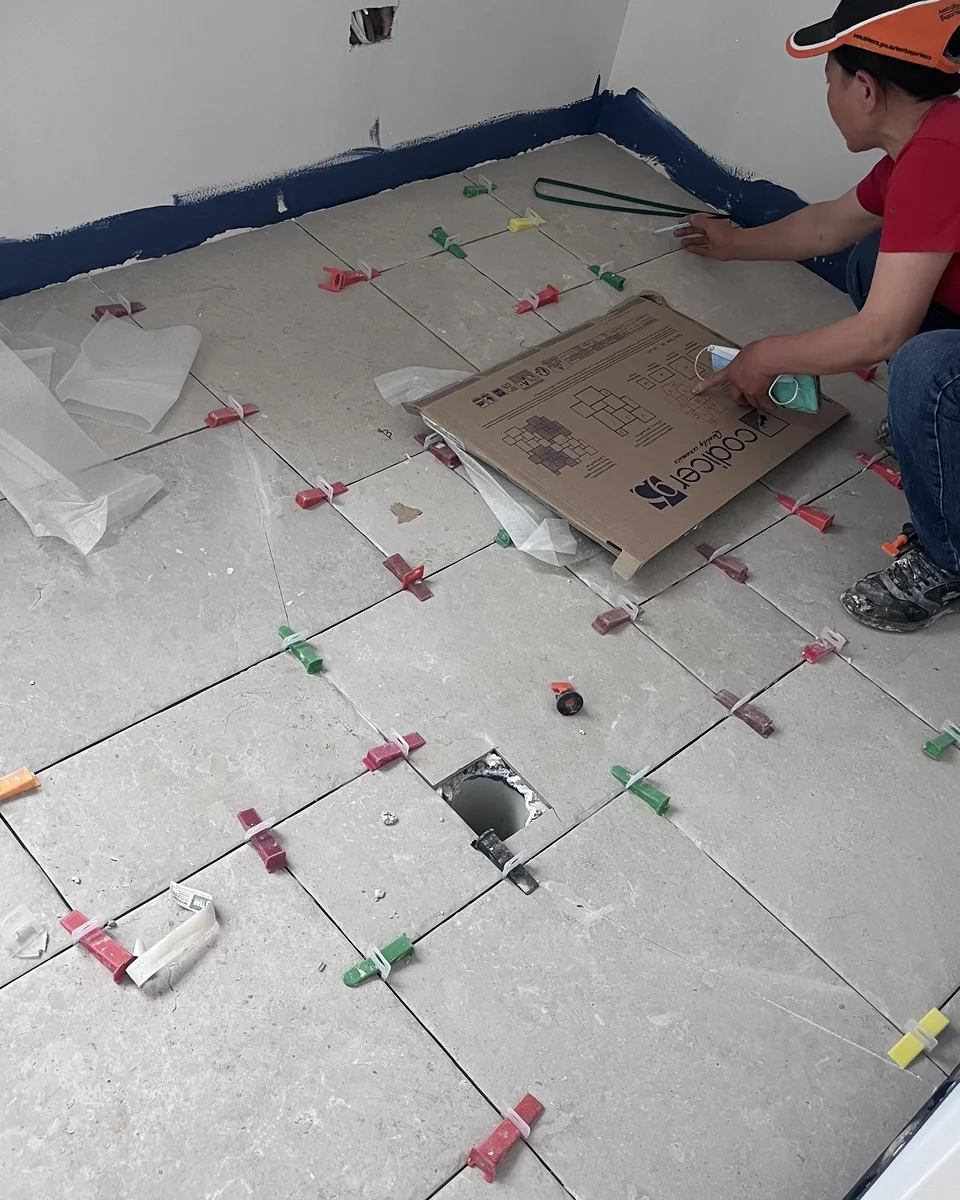
A large tile works best on a sufficiently flat plane. A bathroom floor may need to turn towards a waste from several directions. If one rigid tile crosses those changes, edges can rise or the designed fall can be difficult to maintain.
Possible design responses include a compatible waste and fall layout, a smaller floor tile, a mosaic in the shower zone, or separating planes cleanly. The right response depends on the room. Cutting a large tile into awkward triangles after the design is fixed is rarely the best first plan.
Grout joints affect more than appearance
Joint layout changes the visual scale of a bathroom and the way a tile surface can follow the floor. More joints do not replace slip testing, but smaller tiles and mosaics create a different underfoot texture and allow the installation to follow tighter geometry.
When comparing samples, consider:
- joint width recommended for the product;
- tile dimensional variation;
- grout colour and cleaning expectations;
- how joints meet the waste, walls and doorway;
- whether a sheet-mounted mosaic has consistent spacing.
Think about cleaning before choosing extreme texture
A heavily textured tile may hold dirt, soap residue or cleaning water differently from a smoother finish. A very smooth finish may be easier to wipe but feel less secure when wet. There is no universal balance for every household.
Take a full-size sample home if possible. View it in daylight, touch it dry and lightly damp under safe conditions, and ask the retailer how that exact finish should be cleaned. Do not use oils or improvised slip tests in a showroom or finished bathroom.
Coordinate wall and floor set-out
The floor is visually connected to wall joints, niches, the vanity, the shower screen and doorway. Even when wall and floor tiles are different sizes, a planned relationship can make the room look intentional.
Before ordering, ask for the actual dimensions rather than relying only on nominal labels such as “600 × 600.” Manufacturing calibration and edge type can affect the final module.
A bathroom floor selection checklist
Confirm the following before purchase:
- exact product and colour batch;
- intended wet-floor use and available test information;
- actual tile size and thickness;
- waste and fall layout;
- threshold and adjoining floor levels;
- grout and flexible-joint approach;
- cleaning method;
- extra quantity for cuts and future repairs.
For a new bathroom, share this information when requesting bathroom tiling in Canberra. It is easier to resolve tile size, falls and waste position together than to redesign the floor after materials arrive.
Sources and further reading
- Part 10.2 Wet area waterproofing - Australian Building Codes Board
- Slip resistance advisory note - Australian Building Codes Board
- Waterproofing in houses FAQ - Australian Building Codes Board