Bathroom planning
Bathroom Renovation Order: When Waterproofing and Tiling Happen
Waterproofing and tiling sit in the middle of a chain of decisions, so changes made by earlier or later trades can affect the finished wet area.
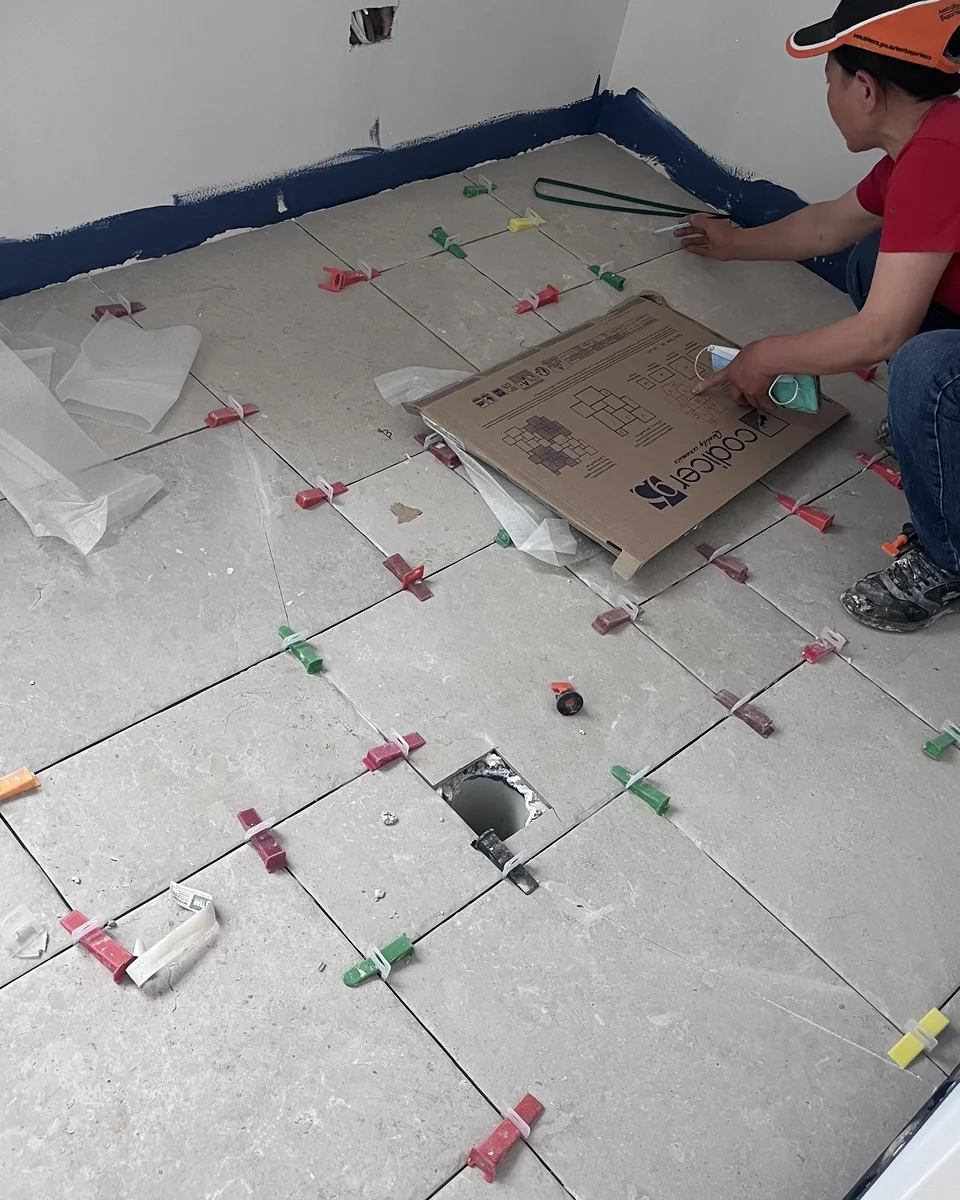
A bathroom renovation is a sequence of connected trades. The exact order varies with the project, approvals, construction and selected systems, but waterproofing and tiling cannot be scheduled sensibly without understanding what happens before and after them.
This overview helps homeowners ask coordination questions. It is not a construction program or approval determination.
1. Define the room before demolition
Confirm the intended layout, fixture positions, tile zones, storage, shower type and major finishes. If plumbing positions, walls or openings are changing, those decisions need to be understood early.
Collect:
- measured plans or a clear sketch;
- fixture and fitting specifications;
- tile products and proposed orientation;
- niche, screen and threshold details;
- responsibilities for design, approvals and certification where applicable.
Access Canberra notes that wet-area documentation should be project-specific. A generic specification cannot show every room penetration, junction or drainage arrangement.
2. Disconnect and demolish safely
Appropriate trades disconnect services and the agreed demolition exposes the substrate. This is often the first time concealed water damage, unsuitable sheeting, movement or previous patching becomes visible.
Treat pre-demolition assumptions as provisional. If the base differs from what the quote could reasonably anticipate, pause and document the condition before covering it again.
Older Canberra homes may also require consideration of hazardous materials before disturbance. Do not assume every sheet, adhesive or backing material can be removed without assessment.
3. Complete structural and service rough-in work
Framing, wall linings, plumbing rough-in, electrical rough-in and other background work need to establish the positions that waterproofing and tiles will meet.
Before closing the walls, confirm:
- mixer and outlet depths;
- waste and floor levels;
- niche framing and dimensions;
- support for screens, rails or cabinetry;
- final wall plane and substrate type;
- any in-floor heating or specialist system interfaces.
Late changes after waterproofing can create new penetrations or make the tile set-out impossible to balance.
4. Prepare floors and walls
The required preparation may include correcting surfaces, forming falls, installing compatible linings and resolving junctions. A bathroom should not progress simply because a calendar says the waterproofing trade is booked.
The substrate needs to meet the selected system conditions. Floor geometry must also coordinate with the waste, doorway, shower screen and adjoining room.
5. Install and protect waterproofing
The waterproofing stage treats the defined wet-area surfaces, junctions, penetrations and drainage interfaces using the selected compliance pathway and product system.
After application, the work needs the applicable curing and protection. Other trades should understand where they can walk, fix or drill. A completed membrane can still be damaged before tiling if the handover between trades is unclear.
6. Plan the tile set-out one final time
Actual completed dimensions may differ slightly from design dimensions. Before tiles are fixed, review:
- full and cut tiles at focal walls;
- joints through niches and fixtures;
- floor cuts around wastes and falls;
- external corners and trims;
- transitions at the doorway;
- movement and flexible-joint locations.
This is the point to resolve visible compromises, not after half the room is tiled.
7. Install tiles, grout and flexible joints
Wall and floor order can vary with the system and installer. The important point is that the method protects completed work and maintains the designed interfaces.
After tile fixing reaches the required condition, grouting and flexible sealant complete the agreed finish. These stages still need clean surfaces, correct products and protection from premature use.
8. Fit off without damaging concealed work
Plumbing fixtures, electrical items, screens, cabinetry and accessories are installed or completed. Fixing methods should respect the wet-area detailing. Unplanned drilling through a finished shower can undo careful earlier work.
Final checks should cover visible finish, drainage behaviour, sealant junctions and the scope of handover information.
Avoid fixed internet timelines
Online renovation schedules often promise a bathroom in a set number of days. Actual sequencing depends on demolition findings, trade availability, inspections, product curing, material supply and changes requested by the owner.
Ask for milestones and dependencies instead:
- What must be complete before the next trade starts?
- Which stages cannot be rushed?
- Who signs off or documents concealed work?
- What happens if the substrate differs from the assumption?
For a Canberra project combining bathroom tiling and wet-area waterproofing, provide the proposed fixture and tile information early so the scope can be coordinated rather than assembled trade by trade.
Sources and further reading
- Construction notes - Access Canberra
- Construction Note 01/2023 - Wet Areas - Access Canberra
- Waterproofing in houses - Australian Building Codes Board