Tile installation
Large-Format Tiles: Substrates, Lippage & Movement Joints
Large tiles can create a calm surface with fewer joints, but they make substrate, handling and layout decisions more important.
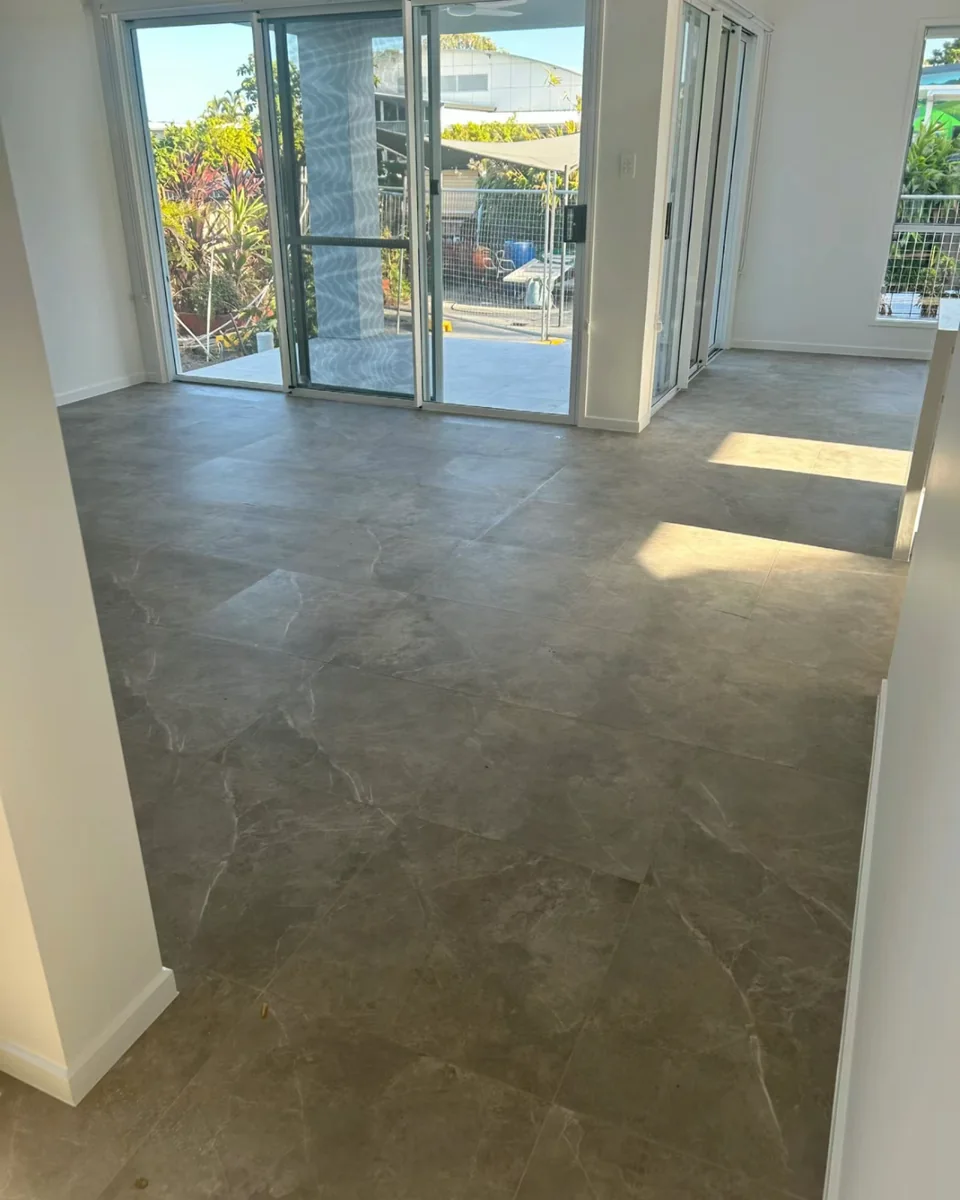
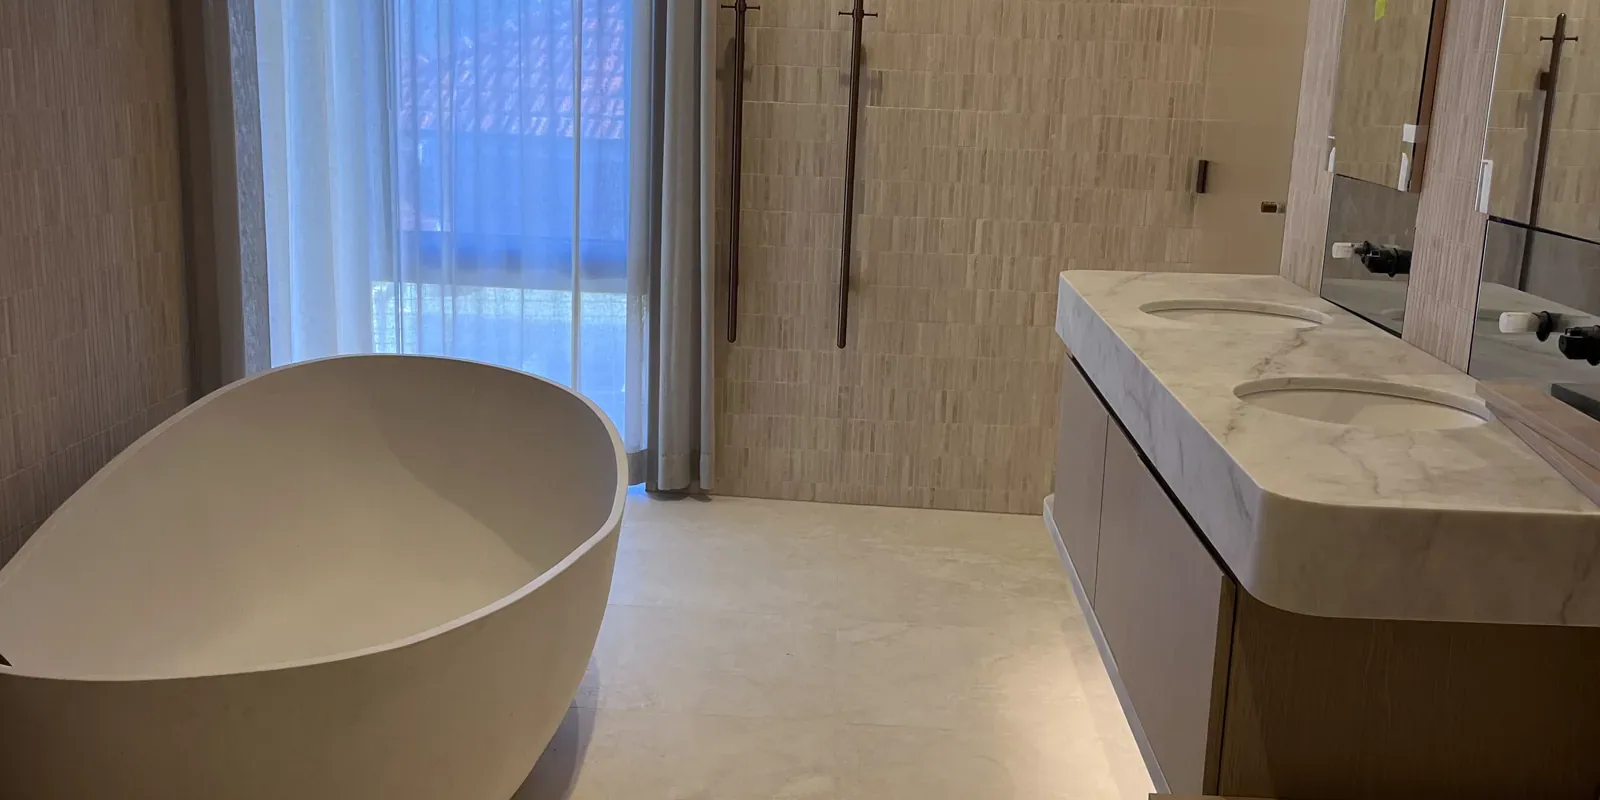
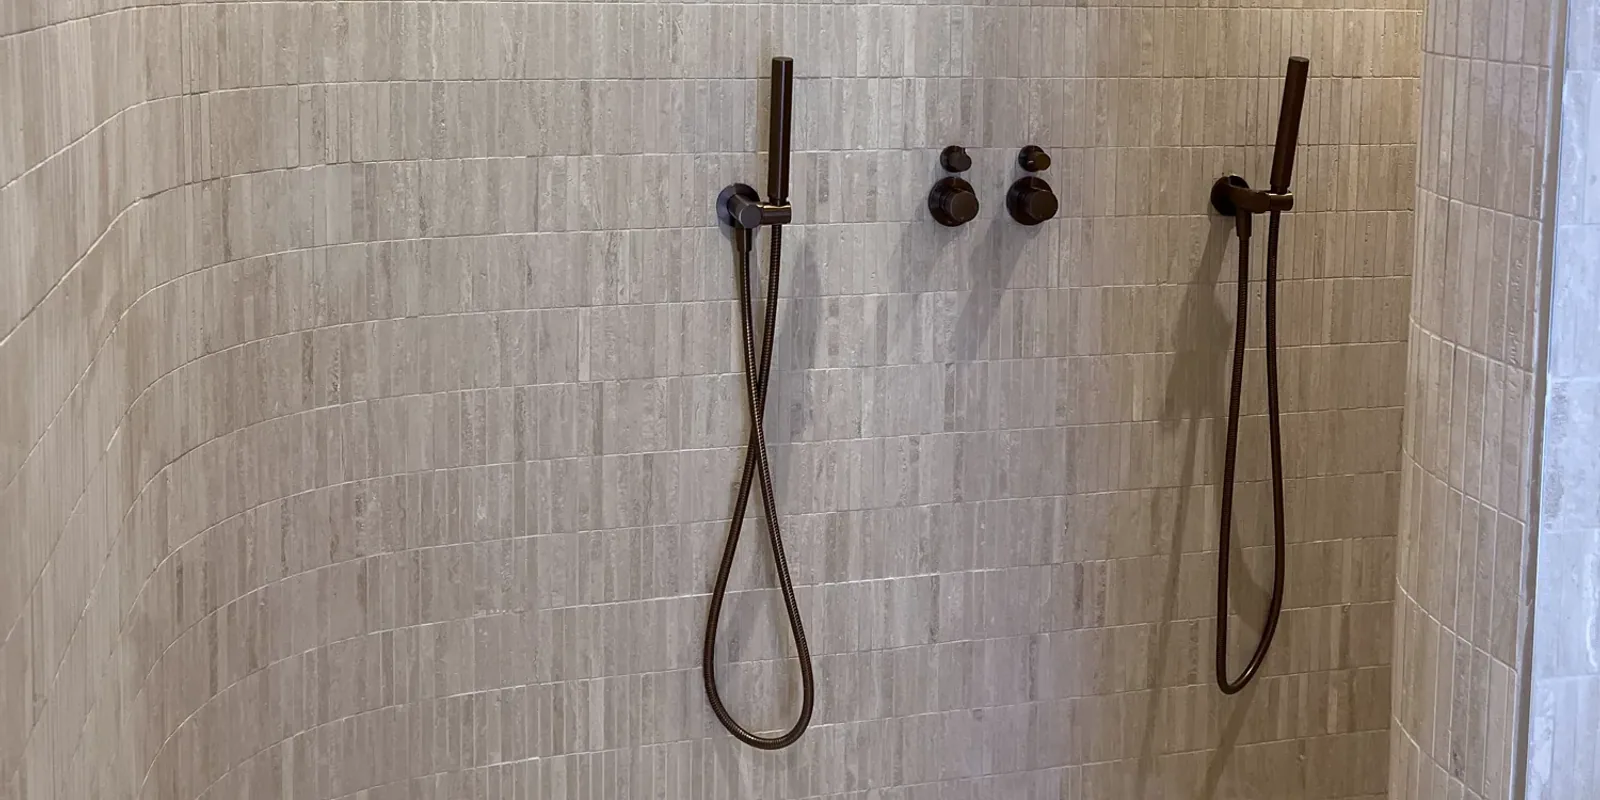
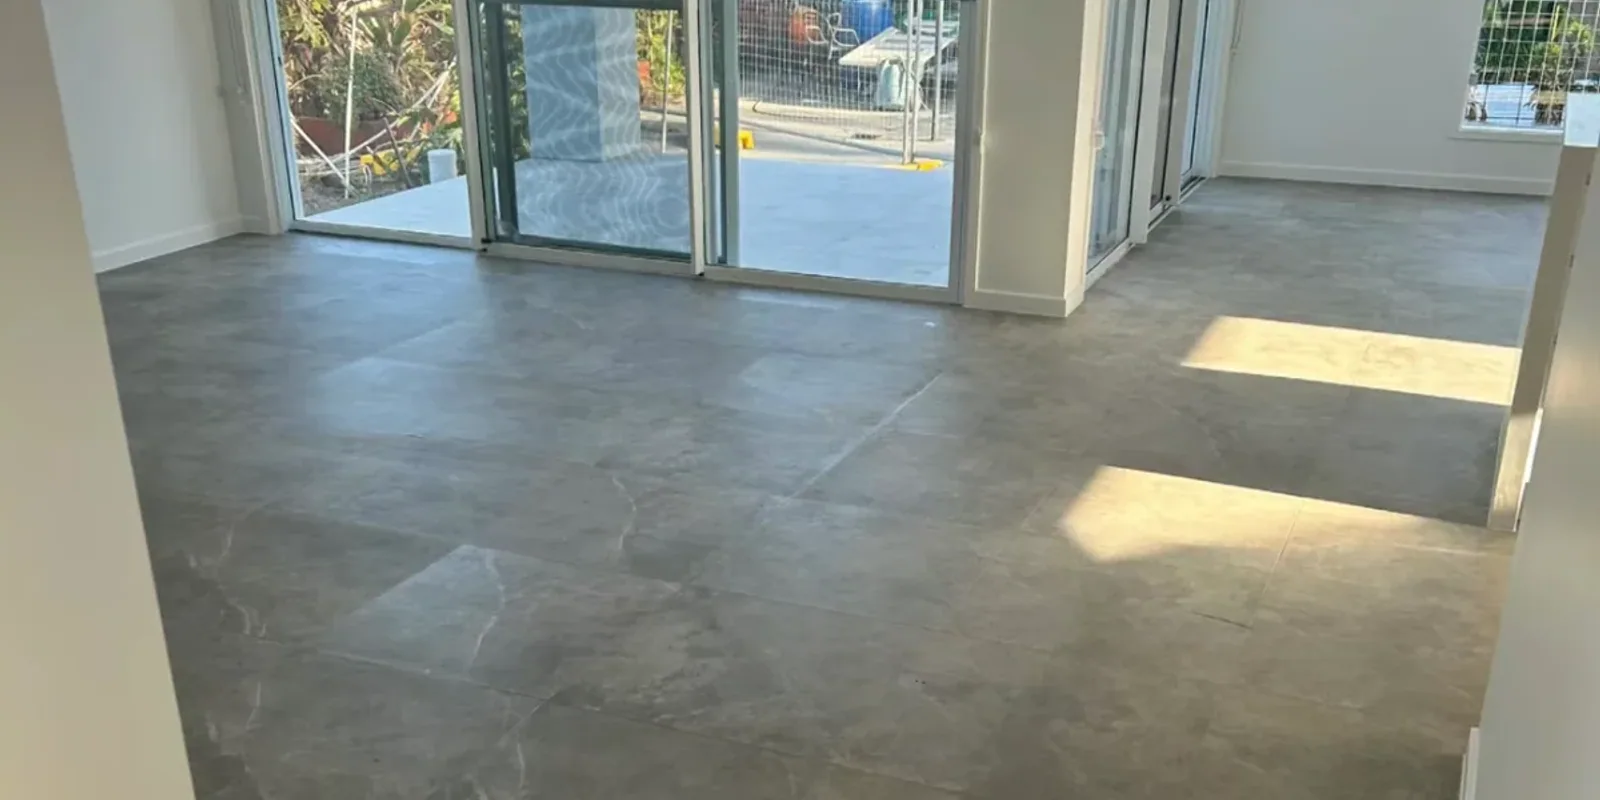
Large-format tiles can make a living area, bathroom wall or feature surface feel calm because there are fewer visible joints. The same scale also magnifies variation. A small hump in the substrate, a bowed tile or a poorly balanced starting point can affect several square metres of finished work.
For homeowners, the key is to discuss the installation system before treating tile size as a purely visual choice.
What counts as large format?
Definitions vary by document and product system. Current ARDEX Australia technical guidance discusses large-format products as tiles with at least one side around 400 mm or more, while modern sheet porcelain can be much larger and behaves as a separate specialist product.
The label is less important than the physical information:
- length, width and thickness;
- weight per tile and per square metre;
- material and backing;
- degree of bow or warpage allowed by the product;
- intended wall, floor, internal or external use;
- handling and fixing instructions.
A 600 × 600 floor tile and a thin 1200 × 2700 porcelain sheet are both “large,” but they do not create the same installation scope.
Flatness becomes more important
Tile adhesive is a bonding layer, not an unlimited levelling compound. When a substrate has high and low areas, using an excessively thick adhesive bed can create poor support, shrinkage or curing problems outside the product design.
The practical sequence is generally:
- assess the substrate;
- complete suitable grinding, patching, screeding or levelling where included;
- allow the preparation system to reach the required condition;
- install the tiles with a compatible adhesive method.
The appropriate tolerance and preparation depend on the tile, substrate and selected system. A visual check alone may not reveal a long gradual variation across a room.
Lippage is affected by tile and substrate
Lippage describes a height difference at adjacent tile edges. It can be influenced by the substrate, adhesive-bed consistency, tile dimensional variation, tile bow, joint width and laying pattern.
Long rectangular tiles laid in a strong half-bond pattern can place the highest part of one tile beside the lowest part of another if the product has curvature. That is why suppliers sometimes recommend a limited offset rather than an automatic 50 per cent brick pattern.
A levelling-clip system can help control edges during installation, but it cannot make a badly uneven base flat or remove product bow. It is a setting aid, not a substitute for preparation.
Coverage matters behind the tile
Large tiles reduce the number of joints through which installation moisture can escape and can bridge a larger area of substrate. The adhesive method needs to create the coverage required for the application and product system.
Technical guidance may call for parallel adhesive ribs, appropriate trowel selection, moving the tile across the ribs and applying additional adhesive to the tile back where specified. Installers check coverage by lifting tiles during work; the finished surface alone cannot show whether voids remain underneath.
Homeowners do not need to nominate a trowel from an internet article. They should expect the adhesive and method to be selected for the tile, substrate and exposure.
Movement joints are intentional parts of the finish
Buildings and tiled surfaces move with temperature, moisture and structural behaviour. Movement accommodation should not be filled with rigid grout just to make the floor look continuous.
Joint locations may relate to:
- existing structural or substrate joints;
- room perimeters and changes of plane;
- large uninterrupted tiled areas;
- doorways and changes in substrate;
- direct sunlight or external exposure.
The applicable layout should be determined for the project. Discuss it before choosing a grout colour or expecting every joint to disappear.
Handling and access can change the quote
Large tiles need safe movement from delivery point to installation area. Narrow stairs, apartment lifts, tight bathrooms and occupied homes can limit sheet size or require additional handling.
Before ordering, check:
- packaging dimensions and weight;
- whether the tile can turn through doors and corridors;
- where boxes can be stored flat and protected;
- whether cutting can be completed safely;
- whether enough spare material exists for selection and breakage.
Questions to resolve before purchase
Ask the supplier and installer:
- Is the product suitable for this wall, floor or external application?
- What substrate preparation is likely?
- Does the proposed laying pattern match product guidance?
- How will edges, corners, wastes and transitions be finished?
- Where are movement joints expected?
- Can the tiles physically reach the work area?
- Is the quantity sufficient for cuts, variation and spares?
Large format can be an excellent result when the project is designed around it. For Canberra floor and wall tiling, include the full product specification and photos of the route into the room with your enquiry.
Sources and further reading
- Installation of large-format ceramic and heavy stone tiles - TB001 - ARDEX Australia
- Tiling systems technical bulletins - ARDEX Australia
- Bob Beaumont talks tiles - Beaumont Tiles