Project planning
How to Measure and Order Tiles: A Step-by-Step Quantity Worksheet
A useful tile take-off separates net area, cutting allowance, box coverage and future spares instead of hiding them inside one guessed square-metre number.
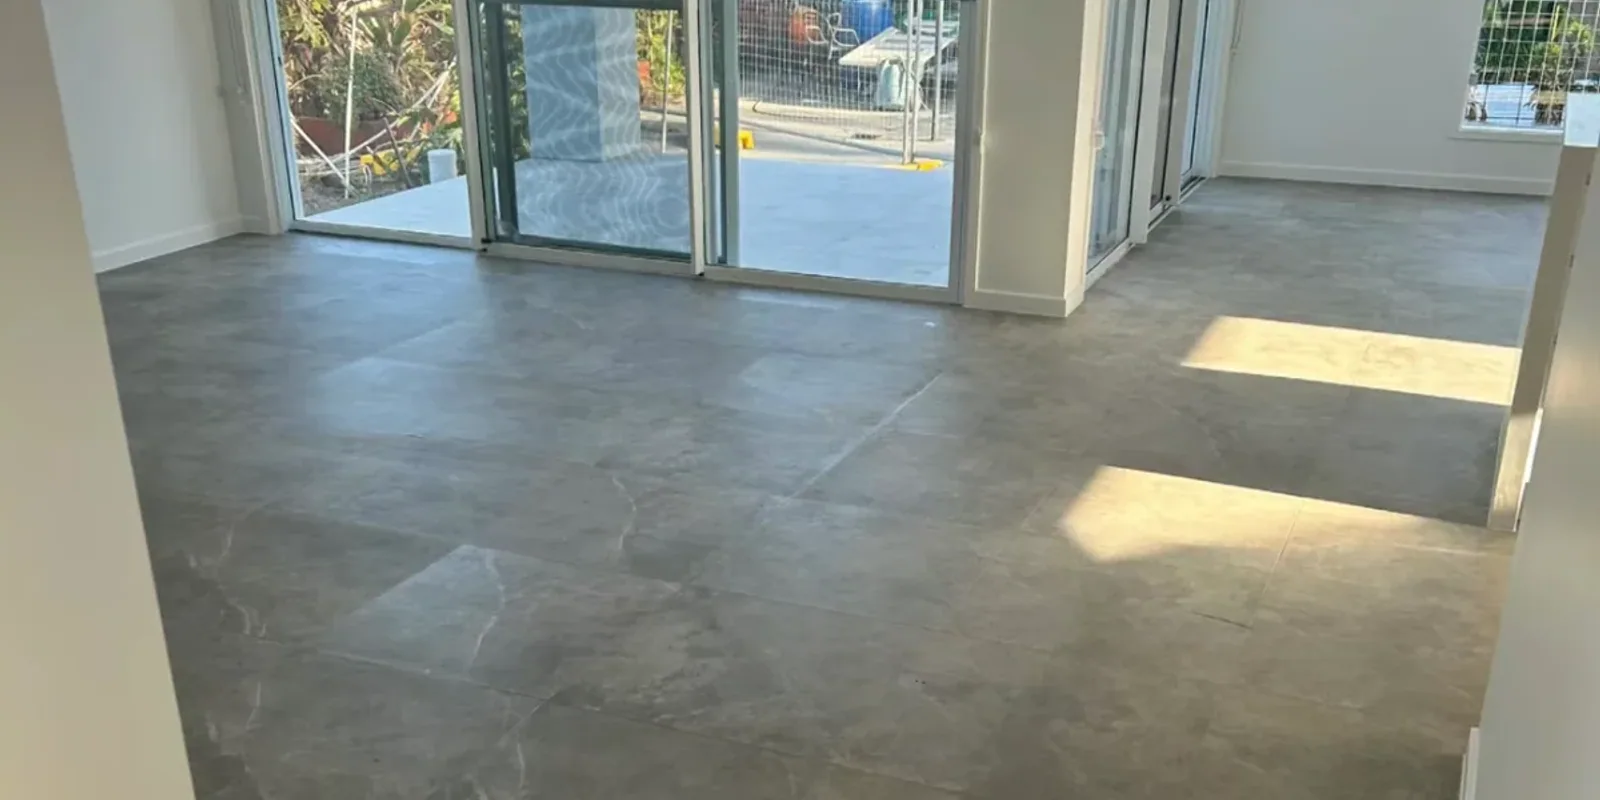
“The room is about twelve square metres” is not yet an order quantity. A reliable tile take-off needs the actual tiled planes, the chosen layout, cutting and breakage allowance, box coverage, batch information and deliberate repair spares.
The worksheet below is suitable for early budgeting and supplier conversations. The installer or contractor responsible for the work should confirm the final quantity against the set-out and site dimensions before the order becomes non-returnable.
Step 1: Draw every tiled plane separately
Give each floor and wall a simple code: F1 for the main floor, W1 for the vanity wall, W2 for the shower wall, and so on. Do not combine walls until each one has its own width, height and finish limit.
On the sketch mark:
- full-height and partial-height tile boundaries;
- doors, windows and other genuinely untiled openings;
- window reveals, nibs, bath hobs and skirtings that will be tiled;
- niches, ledges, columns and returns;
- changes in tile product, colour, size or pattern;
- fixed cabinetry and fixtures that affect the set-out.
This prevents a common error: deducting a window opening but forgetting the four tiled reveals around it, or measuring the floor before the shower footprint and doorway detail are settled.
Step 2: Calculate net square metres
Use metres throughout.
For a rectangle:
Area (m²) = length (m) × width or height (m)
For an L-shaped floor, split it into non-overlapping rectangles and add them. For a wall with a large untiled opening, calculate the full wall, subtract the opening, then add any tiled reveals.
Example wall worksheet:
| Item | Calculation | Area |
|---|---|---|
| Full wall | 3.20 m × 2.40 m | 7.68 m² |
| Door opening | 0.82 m × 2.04 m | −1.67 m² |
| Tiled top reveal | 0.82 m × 0.10 m | +0.08 m² |
| Two tiled side reveals | 2 × 2.04 m × 0.10 m | +0.41 m² |
| Net tiled area | 6.50 m² |
Measure the built dimensions where possible. Drawings are useful for ordering discussions, but finished framing, linings, screed and cabinetry can change the final tiled area.
Step 3: Decide what should not be deducted
Not every obstruction saves a full piece of tile. A small pipe, floor waste or power point still requires the surrounding tile and creates cutting risk. Deducting every small object can understate the quantity while making the worksheet harder to audit.
A practical rule is to deduct only substantial areas that definitely will not receive tile, then let the cutting allowance handle small penetrations and offcuts. Confirm unusual items with the installer, including:
- freestanding baths with tile continuing below;
- vanities or kitchen cabinets installed before or after tiling;
- shower bases, linear drains and floor wastes;
- full-tile access panels;
- tiled niches and boxed services;
- future cabinetry whose footprint may change.
Step 4: Set a cutting allowance from the layout
There is no honest universal waste percentage. Australian retail calculators commonly use a lower allowance for a straight layout and higher allowances for diagonal, herringbone or intricate patterns. The Australian Tile Council says the allowance should increase where the pattern is complex or tiles are difficult to cut.
Ask the installer or supplier to set the project allowance after reviewing:
- tile size relative to the room and its narrowest sections;
- straight, diagonal, brick, herringbone or modular set-out;
- number of corners, niches, penetrations and exposed edges;
- direction and repeat of patterned or book-matched products;
- fragility, shade selection or defects that reduce usable pieces;
- whether cut offcuts can be reused on another edge;
- the number of spare full tiles the owner wants to retain.
Write the allowance beside the reason. “12%: straight layout but many shower cuts” is auditable; “add some extra” is not.
Step 5: Apply the allowance, then round to boxes
Use two separate formulas:
Adjusted area = net tiled area × (1 + allowance percentage)
Boxes to order = adjusted area ÷ coverage per box, rounded up to the next whole box
Worked example:
- net floor area: 8.64 m²;
- agreed example allowance: 10% for this particular straight set-out;
- adjusted area: 8.64 × 1.10 = 9.504 m²;
- product coverage: 1.44 m² per box;
- boxes: 9.504 ÷ 1.44 = 6.6, therefore 7 full boxes;
- actual delivered coverage: 7 × 1.44 = 10.08 m².
The 10% in this example is not a recommendation for every project. The whole-box calculation itself creates additional material, so check the resulting full-piece spares rather than adding another hidden percentage automatically.
Use the coverage printed on the current product box or supplier order, not a number copied from a similar tile online. Packaging can change.
Step 6: Separate products and batches
Do not combine different products into one total. Create a line for each tile, mosaic, trim or special piece:
| Product | Net area | Allowance | Box coverage | Boxes | Actual coverage |
|---|---|---|---|---|---|
| Main floor tile | |||||
| Shower wall tile | |||||
| Feature tile or mosaic | |||||
| Skirting or trim pieces | linear quantity | piece allowance | pieces/box |
The Australian Tile Council advises checking that delivered boxes carry the same shade and calibre markings. Before installation:
- compare product code, nominal size, finish and quantity with the order;
- photograph every shade, calibre and batch label;
- keep a label from an empty box with the invoice;
- open enough boxes to check variation and visible defects before fixing;
- stop and contact the supplier if labels or products do not match.
Once mixed batches or defective pieces are installed, a supplier claim can become much harder to resolve.
Step 7: Decide the repair-spare quantity deliberately
Future spares are not the same as cutting waste. Keep usable, full tiles from the matching batch after installation. The appropriate number depends on the product, room and remaining box quantity.
Prioritise spares when the tile is:
- a distinctive colour, texture or pattern;
- a special order or short production run;
- cut around underfloor heating, access points or complex fixtures;
- installed in a high-use area where a local repair may be preferable to replacement;
- likely to be difficult to match across later shade and calibre batches.
Label the stored box with the room, product, supplier, order date, shade and calibre. Store tiles flat or securely supported where they will not freeze, fall or be mistaken for waste.
A copyable ordering worksheet
Use this for each product:
- Room or surface codes:
- Tile product and supplier code:
- Net tiled area:
- Layout and grout-joint assumption:
- Cutting allowance and reason:
- Adjusted area:
- Coverage per box:
- Full boxes required:
- Actual delivered coverage:
- Planned repair spares:
- Shade / calibre / batch checked by:
- Installer quantity confirmation date:
Resolve the set-out before locking the quantity. The tile layout, grout and movement-joint guide explains why tile module and joint positions affect cutting. For a site-based review, send the worksheet with photos to LITA Tiling's Canberra floor and wall tiling service.
Sources and further reading
- Tiling checklist - Australian Tile Council
- Tile and flooring calculator - National Tiles
- Calculate the amount of tiles you need - Bunnings Australia
- AS 3958:2023 - Installation of ceramic and stone tiles - Standards Australia