Kitchen planning
Kitchen Splashback Planning: Layout, Outlets & Finishing
A splashback is compact, but every cut sits beside a straight cabinet, bench or power point, so the final set-out deserves an early decision.
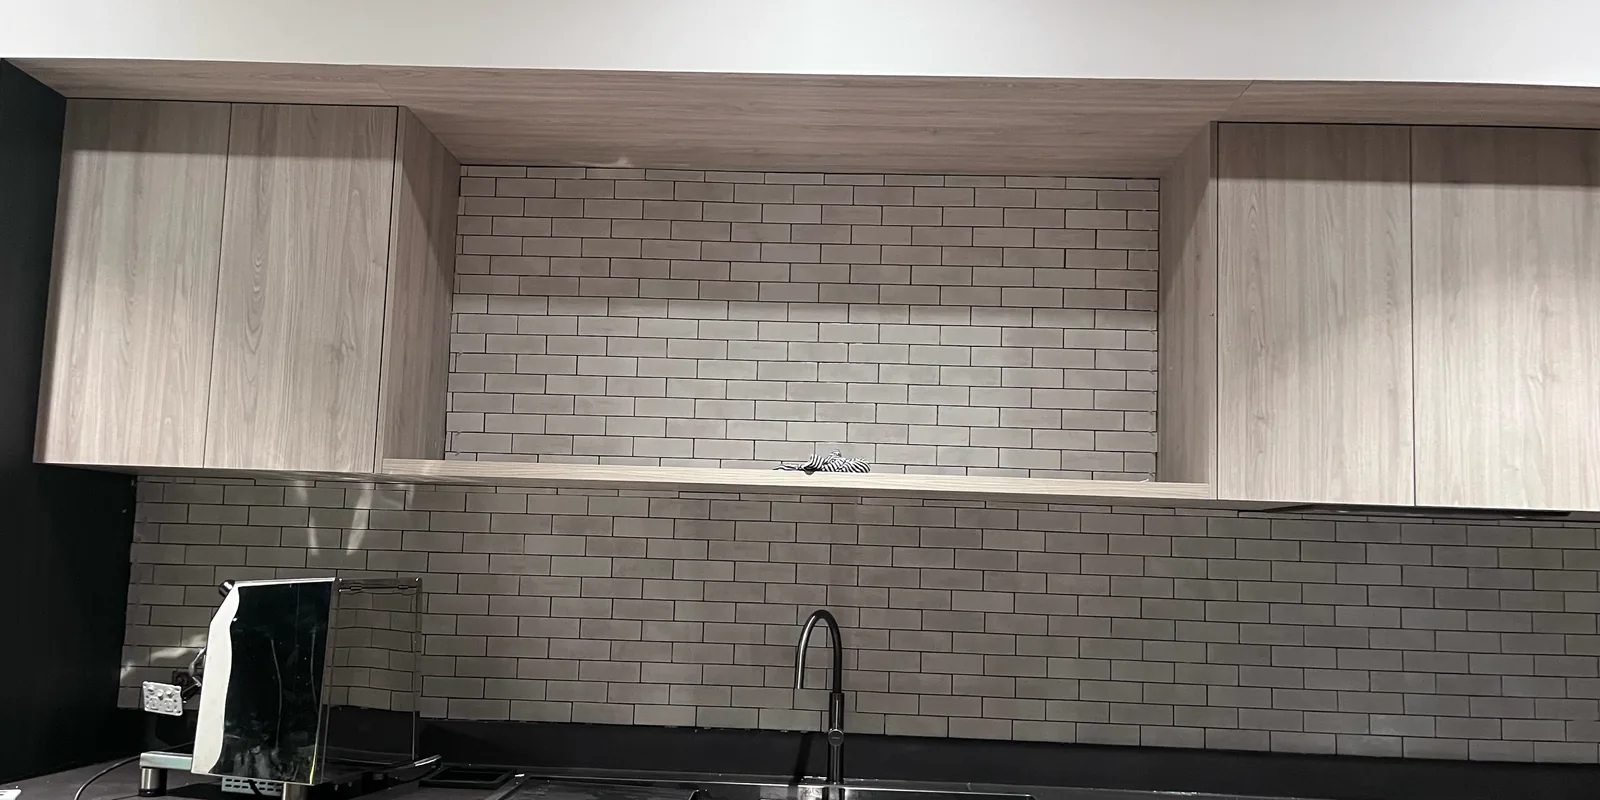
A kitchen splashback covers less area than many tiling jobs, yet it places almost every joint and cut beside a strong reference line. Benchtops, overhead cabinets, windows, rangehoods and power points make small differences easy to see.
Planning the finished layout before mixing adhesive gives the installer and homeowner a shared reference. It also helps separate decisions that belong to the kitchen installer, electrician, plumber or tiler.
Start from the finished kitchen, not the old wall
The useful dimensions are the completed bench and cabinet lines. If the cabinetry is still moving, measurements taken from the previous kitchen may not describe the actual splashback.
Before confirming the set-out, record:
- the tiled height and each separate wall section;
- the finished benchtop line and underside of overhead cabinets;
- window reveals, rangehood edges and exposed ends;
- the centre and outer dimensions of every outlet or wall fitting;
- the selected tile, sheet or pattern, including its real module size.
For replacement work, removing the old finish may reveal damaged plaster, uneven patches or adhesive residue. Treat that condition as something to assess, not something new tiles automatically conceal.
Map every interruption before choosing a starting point
Power points often control the visible rhythm of a splashback. A layout that looks balanced on an empty wall may produce a thin strip beside an outlet or an awkward cut through a decorative tile.
Mark the main sightlines, then compare more than one starting position. Look at both ends of the wall, not only the first tile. If a cooktop or sink is a focal point, decide whether the pattern should centre on it or follow the full cabinet run.
Electrical work remains the electrician's scope. The tiler needs accurate positions and a safe, agreed sequence rather than making assumptions about moving an outlet.
Use the actual tile module
Nominal tile dimensions do not show the whole installed module. Joint width, handmade edge variation and mosaic sheet spacing all change the repeat.
Dry-lay a representative run or measure several pieces together. This check can reveal whether the proposed layout creates:
- very narrow cuts at corners or cabinet ends;
- uneven sheets around outlets;
- a pattern break behind a cooktop;
- an exposed edge that needs a trim, mitre or another agreed finish.
For patterned or shade-variable tiles, also agree how pieces will be mixed and oriented before they are fixed.
Confirm the wall and the fixing system
The wall needs to be stable, appropriately prepared and compatible with the selected adhesive and tile. Paint, old adhesive, patching compounds and glossy surfaces cannot all be treated the same way.
AS 3958:2023 is the current Australian Standard covering the installation of ceramic and stone tiles, including substrate, bonded fixing and grouting considerations. Product manufacturers also publish system-specific preparation and application instructions. The correct method depends on the actual wall, tile and site conditions.
Distinguish grout from flexible junctions
Grout fills the designed joints within the tiled field. Junctions where materials or planes can move differently, such as the benchtop line or an internal corner, need to be identified separately and finished with the agreed compatible flexible sealant where required by the system.
Do not choose the grout colour in isolation. Compare the grout, sealant and trim beside the tile and benchtop under the kitchen lighting. These narrow lines can noticeably change the finished appearance.
Coordinate water-exposed areas without calling every kitchen a wet area
The ABCB explains that kitchens are not classified as domestic wet areas in the same way as bathrooms, laundries and sanitary compartments. That does not make surface preparation and splash exposure irrelevant. Around sinks and taps, confirm the selected finish, junction treatment and product system are suitable for the actual use.
Avoid turning a product claim into a whole-wall guarantee. A tiled surface is a combination of substrate, preparation, adhesive, tile, joints, sealant and workmanship.
What to provide for a useful quote
Send straight-on and corner photos after the cabinets and bench are installed where possible. Include the total dimensions, tile product or sample, outlet count, exposed edges and whether an old finish must be removed.
For a local scope review, see LITA Tiling's Canberra kitchen splashback service and attach the tile details before the proposed installation date. A short, well-defined job is easier to price accurately than a small area with unresolved edges and services.
Sources and further reading
- Waterproofing in houses - frequently asked questions - Australian Building Codes Board
- AS 3958:2023 - Installation of ceramic and stone tiles - Standards Australia
- MAPEI Academy video tutorials - MAPEI Australia